This is, obviously, a bit of a different topic than my normal travel related updates, but I wanted to write in this blog a bit more often. My primary motivation is simply that I think I should write more than I do in general – too much consumption, not enough generation.
Most of my early yogurt making memories come from my Mom. She used (maybe still uses?) quart jars filled with milk and put under a towel with a heating pad (the type you use for a sore back) underneath the jars. From what I remember this always worked really well. I actually wonder now why we didn’t do this all the time, I feel like it was a “few times a year” thing.
I actually can’t remember the first time I made yogurt myself. It was probably either in college in my first apartment living with Nick and Kevin, or it might have been in Wisconsin Rapids in my first real solo-apartment. Or maybe even in Lindsay and my first apartment in Grand Rapids post-college. Honestly I don’t remember. What I do remember for sure though is maybe 6 or 7 years ago living in Chicago I got slightly more serious about making yogurt and testing out different techniques. I tried different starter cultures, different incubation methods (e.g. sous vide vs crock pot), scalded vs unscaled, different milks. Strained vs unstrained. Etc. Unfortunately I remember very little about these techniques besides I remember that there was somewhat of a fine line between straining yogurt to the point of greek yogurt vs spreadable paste.
(VERY slightly interesting aside it turns out I have a fork from this same set of silverware here in Japan:

which sort of hit me a second ago because it’s a very unexpected through-line between my life 8ish years ago and my life here in Japan. I should probably throw these forks away before they develop some sort of meaning to me or are a physical representation of my 30s or something.)
OK, back to yogurt.
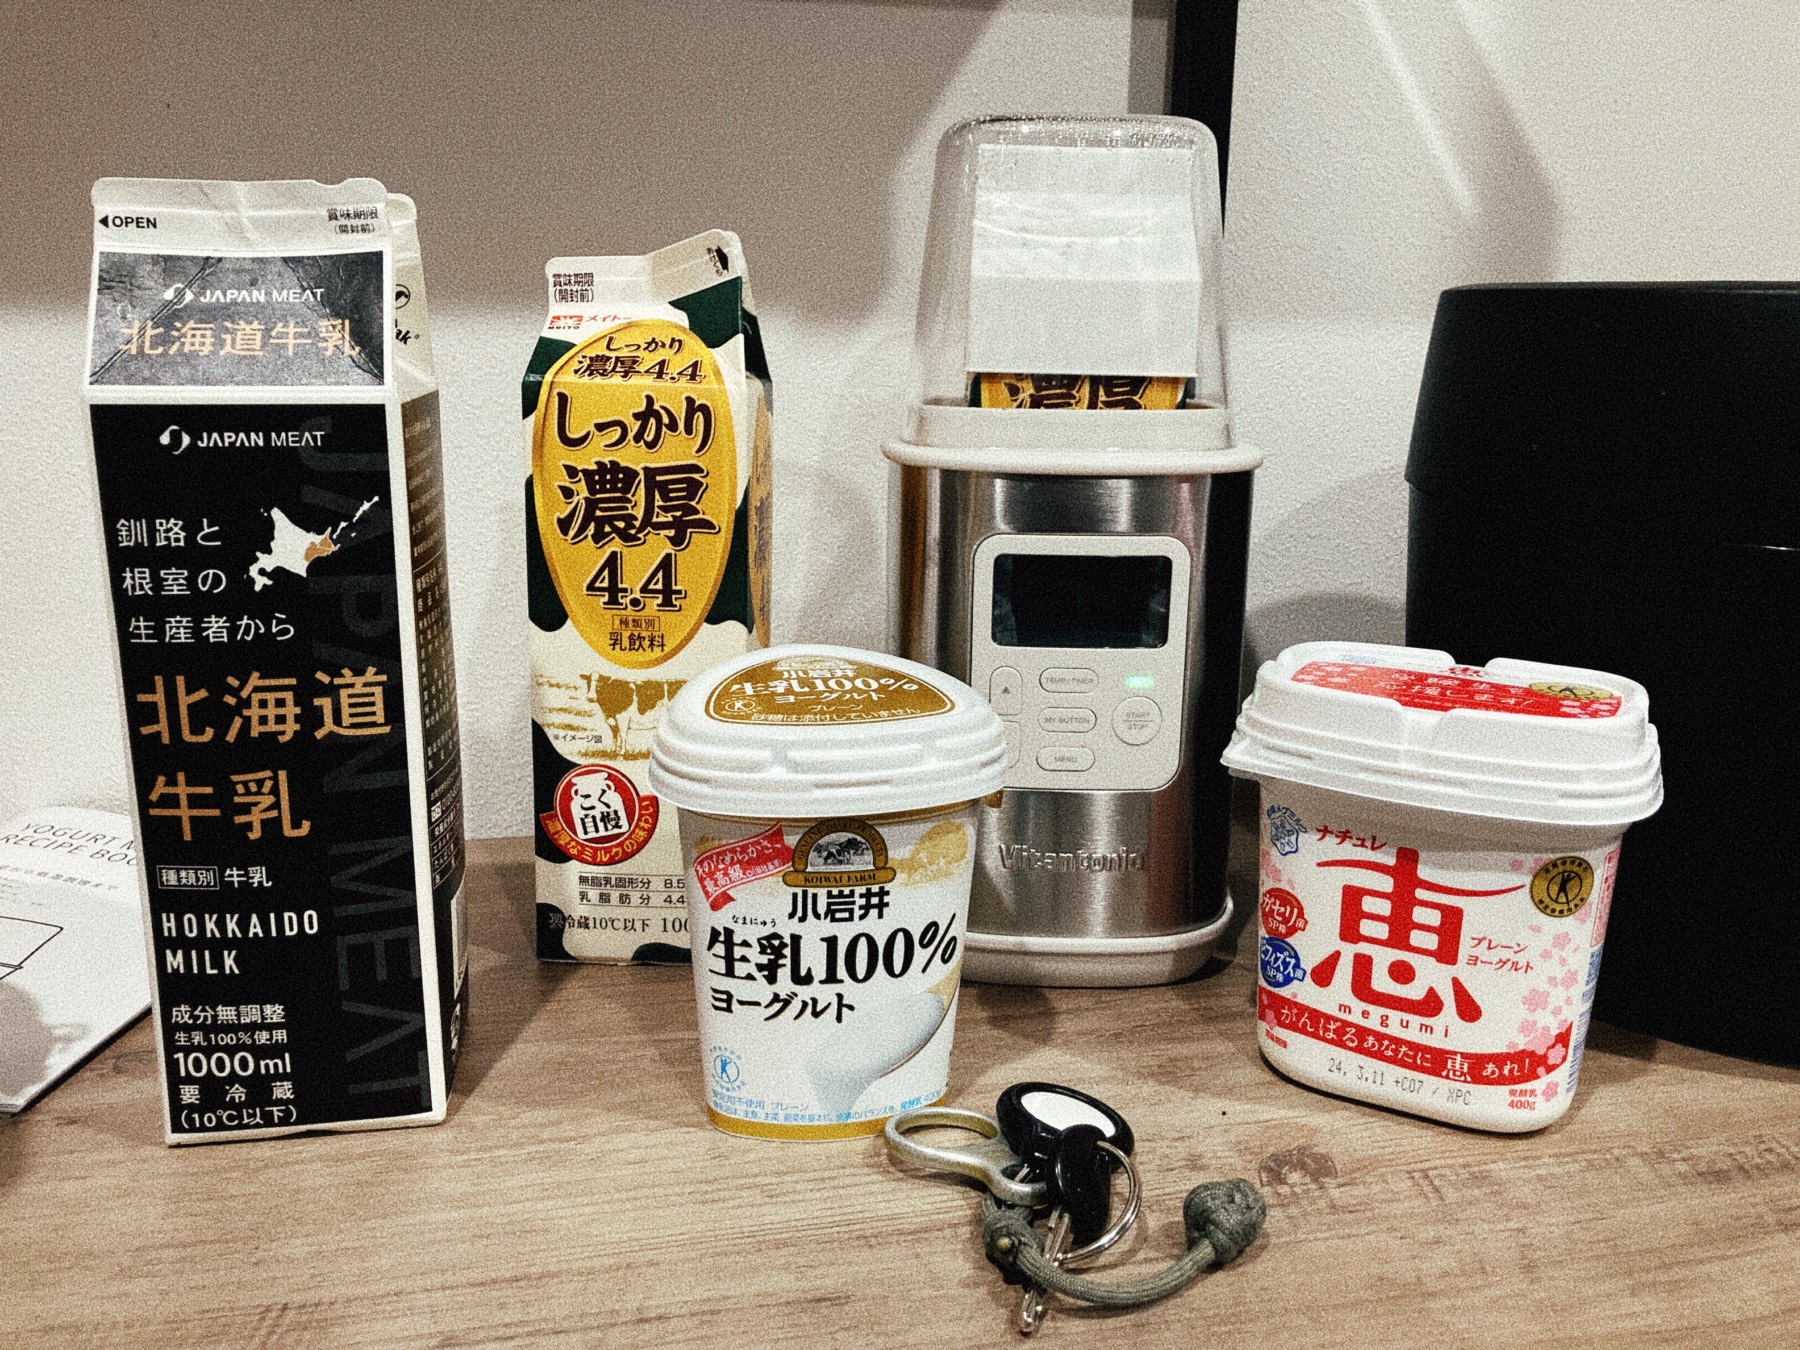
I like yogurt, and I like making things. I don’t have much space at home here in Japan but I do have space to make yogurt. I think the main reason I’ve decided to experiment with yogurt making here is because in general I really like the milk in Japan. Hokkaido is known for their milk and dairy in general and there are a surprising number of options for milk and yogurt at most grocery stores.
Kotatsu
I decided to start the yogurt journey here by attempting to ferment the yogurt under our cheap ニトリ kotatsu.
I used the entire liter of milk and about a quarter of the yogurt container (which is quite a lot), and I fermented for around 12 hours (a long time)


The yogurt game out very good I would say. It wasn’t SUPER thick, but set very well I’d say.

(Wat Mahatat)
- Running the kotatsu for 12 hours may be expensive. Honestly I’m not sure how expensive, it’s much cheaper than a space heater for example so may not be all that much more than a kitchen gadget, but I suspect it’s still more expensive
- There was a REAL risk of Lindsay or me kicking over the milk and ruining our rug. The bowl was completely hidden and all it would have taken is one of us to forget that there was a bowl of milk under there and stick our feet under the blanket and bam.
For these reasons I decided to buy a yogurt maker. Well those reasons PLUS I like having cooking souvenirs from living in other places and although I’m generally very against uni-taskers I feel this could be worth it. Back in the states I have at least three options for yogurt making already:
- A crockpot, which is what I’ve used most, where you heat the milk up to scalding in the crockpot then cool it down to ~110F-115F to add culture, then the size / mass of the crockpot is enough to ferment the yogurt over night
- A sous vide setup, so I can just put my yogurt in a water bath and keep a perfect temperature
- A thermos – arguable the easiest option, just heat up milk, cool it down to 115, then pour everything in a thermos to ferment / maintain temp
BUT, all of those things require at least some amount of annoying prep steps. Both the thermos and crockpot require me heating up milk in a different container, watching to make sure I don’t burn anything, etc. And so I decided to buy a dedicated yogurt maker.

Link to yogurt maker: https://vitantonio.jp/collections/yogurt-maker/products/vyg-60 (it was not this expensive though, I think I paid ¥5000 or something?).
So, with the yogurt maker out of the way, here is what I’ve been trying.
Trials / Test Recipes
I had hopes of being very methodical in my testing, carefully trying to avoid changing TOO many variables at once, but that has fairly quickly fallen apart. I’m now at least trying to keep two variables the same (e.g. same milk with other differences).
Failure #1 Not very successful initial trial with powdered milk and Hokkaido Milk
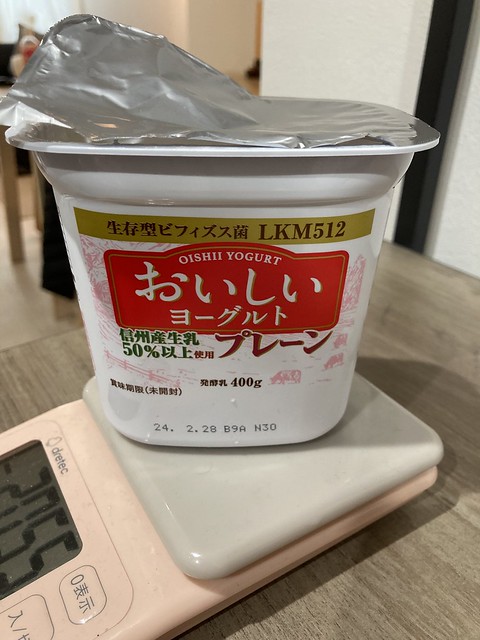
The first trial was a giant failure. Honestly I’m not sure why but I am suspicious of the yogurt I used as a starter, even though the yogurt (“Koiwai 100% Raw Milk Yogurt” – 小岩井 生乳100%ヨーグルト) was actually recommended by somebody in Japan from a yogurt making forum. The reason I’m suspicious is that the yogurt doesn’t have a “cutable” curd, it’s more like a smooth creamy consistency. That said it COULD have been the milk. I’m going to do more trials with both in the near future here to see if I can figure out what was the issue.
Anyway, onto the trials…
- 100g of yogurt (that’s a lot! – 小岩井 生乳100%ヨーグル)
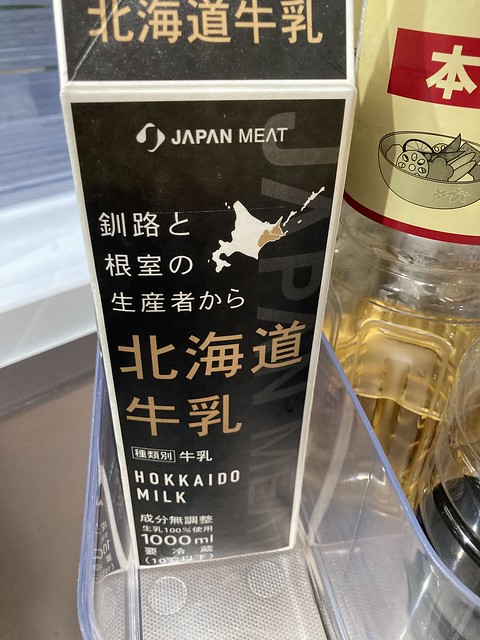
- 1000ml of milk (from ハナマサ – 北海道牛乳 – Hokkaido Milk)
- 100g of non-fat milk powder
- Mixed in the carton (with terrible results – ended up with chunks)
- No scalding or processing of the milk at all
- Fermented directly in the tetra pak
- 7 hours at 40C / 104F
So this was a bit of a train wreck because I attempted to mix the powdered milk (and a considerable amount of it really) into the milk carton directly. The cold milk + limited space for mixing vigorously resulted in clumps of powdered milk, which I did my best to break up but was absolutely stubborn and unwilling to mix in a different container (because this was part of the reason I bought the yogurt maker to begin with, cutting down on complexity and steps).
After 7 hours at 40C (the yogurt setting on the yogurt maker), and a night in the fridge to cool, I basically ended up with milk. Not even thick milk, just milk. So something was up here. It’s possibly the viscosity was closer to heavy cream or something, but barely. I honestly don’t know why, the milk was fresh, the yogurt I used as a starter was specifically recommended from somebody in Japan who prefers this as a starter, etc.
Stupidly, I decided to try again.
Failure #2 Hokkaido Milk with 3 tsp yogurt
- 1000ml of milk (from ハナマサ – 北海道牛乳 – Hokkaido Milk)
- 3 large teaspoons of milk (5ml x 3 approx)
- No scalding or other processing of milk
- Mixed in the carton
- fermented in the tetra pak
- 7 hours at 40C
Same exact result. Barely thickened at all, if at all. At this point I am blaming the yogurt, and plan to revisit with both the milk and yogurt to see if I can get different results with different fermentation lengths.
FYI The milk itself says that it’s
- Milk Solids are 8.3% or more
- Milk Fat are 3.6% or more
- 100% raw milk
- Treatment was 130°C for 2 seconds
Trial #3, First working batch

OK so I decided to switch yogurts and milk. Actually originally I had figured that my first trial would be successful because I never really had a straight up failure before while making yogurt in the past, and so my original plan was to use the 3.6% milk fat milk, then follow the same procedure with a 4.4% milk fat milk so I could compare the two yogurts. After the complete failure of trial #1 and #2, I still had the 4.4% milk but decided to buy a different yogurt.
- 1000ml milk しっかり濃厚 4.4% milk fat!
- 2 tablespoons (~30ml) of yogurt (恵ナチュル プルーン ヨーグルト – Megumi natural plain yogurt) Note here that this milk has the defined “curd” that the previous milk from trial 1 and 2 did not – by this I mean when you take a spoon full of it, there is a clear edge vs a smooth consistency
- No scalding or other treatment
- Mix in the carton – I mixed pretty well and felt like this was fairly effective
- Ferment in the carton for 9 hours
- To the fridge after this time

At this point I had changed almost every variables so it’s a bit tough for me to tell why this yogurt worked vs the others two not working. Was it the milk? I doubt it. Was it the yogurt starter / culture? I suspect yes.
The result of this trial was certainly yogurt, but note that it wasn’t particularly thick. In the first photo of the spoon of yogurt you can actually see the whey separating out, and you can sort of see (if you look really closely) that there isn’t a super defined edge. The yogurt was also quite tart.
I want to point out that the actual store bought yogurt I started with was relatively tart to begin with. I would say quite tart. Lindsay specifically said she didn’t love the yogurt because it was too tart.

I was able to strain the yogurt (though it was thin enough I lost some even through this super fine mesh). Overall I’d say this was a success, and for somebody interested in a target yogurt I feel like this was pretty good. For me personally after really giving it some thought it was a bit too tart I think, and even after straining it was a bit thin. I’d probably give this a B-.
Trial #4, Switch to a commercial retail yogurt starter
I have been reading and posting a bunch of various forums and subreddits about cultures in Japan and one person mentioned they had a lot of luck with a particular starter
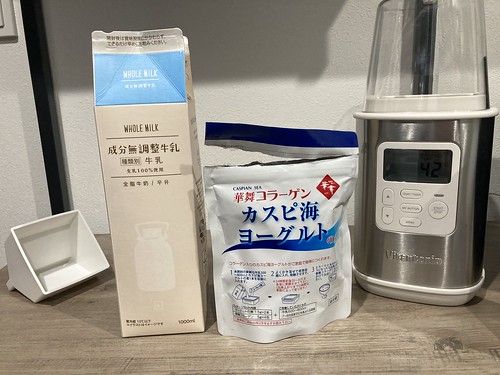
- 1000ml Lawson Whole Milk yogurt – this is the standard, off-brand (or Lawson Station brand?) milk at my nearest konbini (150 meters from my house, I just checked)
- 華舞コラーゲンカスピ海ヨーグルト i.e. “Caspian Sea Yogurt” – I used one of the two sachets that came with this yogurt.
- Mix in the carton – this went pretty smoothly with the long yogurt spoon I have (just a really long spoon), and wasn’t an issue incorporating the fine granules of starter culture into the milk
- No milk conditioning or scalding
- 11 hours at 42C
- Straight to the fridge after this
OK, so the result here was quite different and distinct:
- The yogurt was clearly thicker and more set than the previous attempt where I used the prepared yogurt as a starter
- The yogurt was not even in the slightest bit tart – good or bad, the yogurt had barely any tartness at all

I strained the yogurt in this strainer I bought (the mesh isn’t as fine as the strainer I used in trial #3 but it’s easier to clean and allows more whey to escape) and ended up with very thick, very creamy, very NOT-tart yogurt.


Overall I’d say this yogurt was a pretty big success and quality wise the best so far, however I would actually prefer it to be a bit more tart (vs not tart at all). Also although I do think that the strained version of the yogurt is very very decadent and Lindsay really liked it, I’d also say that it was a bit too thick. It was almost like something you’d spread on bread or something.
My current thought (though I won’t be testing it in this blog post) is that I’d like to try mixing this with the yogurt culture from trial #3 and see if I can get a slightly more tart result.
Trial #5, Latest (currently incubating) batch

- 47g yogurt from previous batch (specifically the unstrained “Caspian Sea Yogurt” starter from trial #4)
- 1000ml milk (Lawson brand)
- 100g non-fat milk powder (ok, 101g)
- raise to ~80C / ~176F before mixing in milk powder
- cool to 37C / 99F before adding the 47g (one large scoop with my yogurt spoon) yogurt and mixing well
- 11 hours at 42C, 108F in the yogurt maker

This is in progress. I did all of the various things I could do to get the thickest yogurt possible, but notably am using the yogurt from the previous attempt. This is actually the first attempt in which I’m not using a store bought product.
I do not have results yet as it’s 10PM here and I’m going to bed soon, but I’ll have results in the morning and might update this post with those results, or might make a new post with details.
UPDATE: results are in, this was my favorite yogurt yet.
A bit of a bummer really because there were extra steps and it begs the question “why buy a yogurt maker in the first place then?”, but the extra sweetness from the cooked milk plus the milk powder really paid off. Look how THICK this yogurt is below, UNSTRAINED.

I plan on continuing these trials for a while. A few things I want to try:
- Drying yogurt on a clean piece of cloth or fabric and trying to restart a culture from this
- Using another powder starter from a different company
- Mixing the Caspian Sea starter with a different, more tart yogurt
- Trying different milks
- Trying different milk powders
- Trying different temperatures
- Trying to include other things in the fermentation process, e.g. dates
More to come! <3
Leave a Reply
You must be logged in to post a comment.