Well, a small break from the past year of travel style blog posts.
While traveling through Japan, Lindsay and I really fell in love with Ramen and decided that on the top of the “things to do when we’re home” bucket list we’d put “make real-ass ramen.” I want to take a second to point out that this was very much a team effort, though I may have spent a bit more time reading/researching/asking questions about what recipe to follow, which steps to follow, etc. But the point is, this was a team activity, even if I don’t write it up as such.
There is a great subreddit that has a large number of really useful posts about ramen, and in particular there is a guy, /u/ramen_lord who was really really helpful in terms of choosing a recipe, picking out ingredients, etc. We ended up following this very long, very well written, and very detailed recipe, and we created all of the individual ingredients from scratch.
This blog post I hope will serve as notes for my future self on how to improve the ramen, and perhaps interesting for somebody who wants to make ramen themselves.
The type of ramen we are making is called tonkotsu ramen. This is a very thick ramen, which is basically made from boiling some combination of pork bones to get a thick, rich, porky broth.
Shopping for ingredients
We started the ramen by first shopping for all of our ingredients. We are currently in Grand Rapids, Michigan, and the Japanese grocery store selection is pretty small. In fact, there are exactly zero Japanese grocery stores, although there is one, Asian Delight, that sells quite a few Japanese ingredients. I was told that Asian Delight was a Japanese grocery store actually, but when I went there the selection was pretty limited. We did manage to purchase some (Chinese, and they didn’t taste the same/good) pickled bamboo shoots, as well as mirin and sake for the chashu (pork) and the soft boiled/marinated custard eggs (ajitsuke tamago).
The most critical part of the ramen is the broth, and this particular recipe called for a LOT of pork bones (femur) as well as chicken feet. I think I purchased something like 8 pounds of pork femur bones, 4 points of chicken feet, and 4 pounds of chicken wings/parts. Anyway, the best place I found to do this was at a Vietnamese grocery store (Kim Nhung Superstore for anybody in Grand Rapids). The femur bones I purchased were not super beautiful like you see in photos, but they were what I could find in such volume. I actually called a number of butchers and I was surprised to find that while they had femurs, they only had a few on hand, many of them they got rid of or sold to other vendors for various purposes. I wonder (?) at the end of the day if the reason our broth didn’t turn out so well is because of the bones that I had (again, I emphasize the ?).
The chicken feet I purchased were very nice, clean, beautiful. I was actually surprised at the quality.
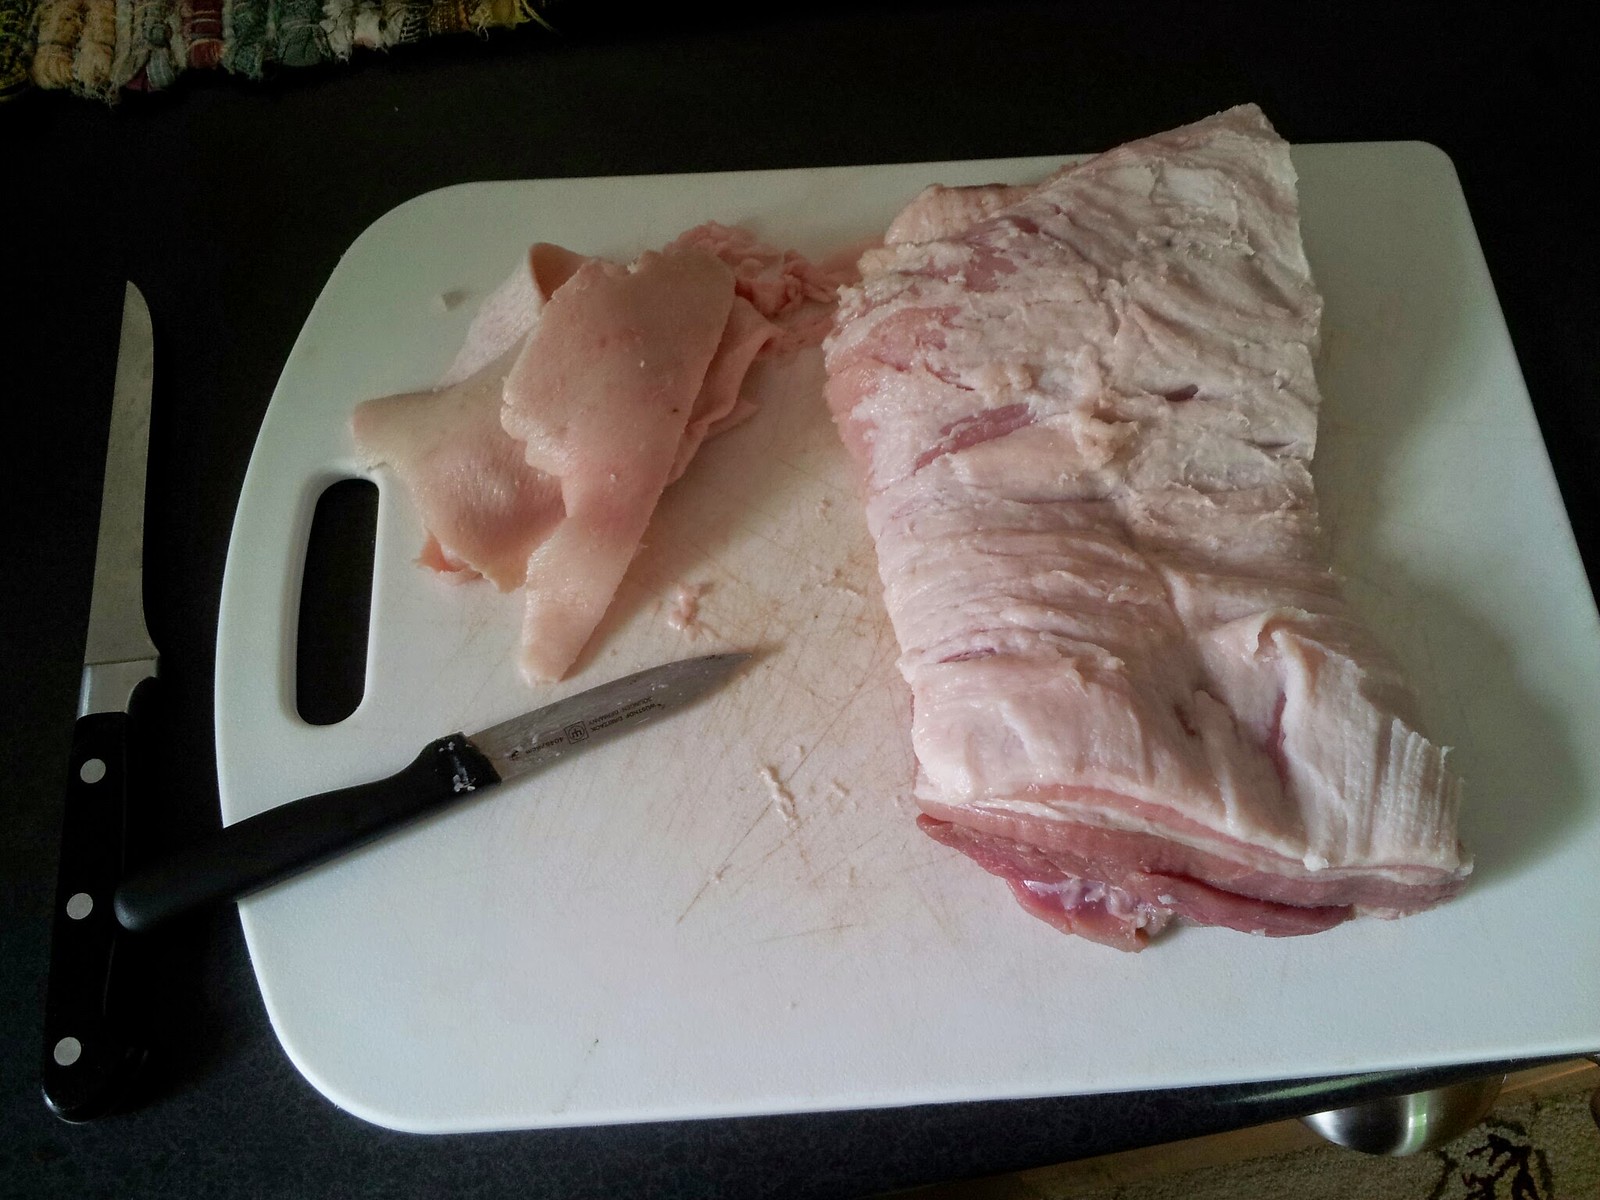
I also purchased a 3 pound piece of pork belly. The pork belly I was also really pleased. It was flat, and probably the perfect thickness for the ramen style chashu. The pork belly had the skin on and I chose to remove it, which I believe was the right choice. Just an FYI, I went back the same store a week later to buy MORE pork belly for a different project and the pork belly was not nearly as nice. The pieces were thicker and narrower, and I noticed a fairly strong “barn” smell that wasn’t there before.
I decided (against Lindsay’s request I might add!) to make the noodles from scratch. I followed the ramen_lord recipe linked to above, and used baked-baking soda to make the noodles. I’d say they turned out very well, although I was surprised just how alkaline the noodles were. I didn’t taste the alkaline when we were eating, but when I tested a noodle on it’s own I very much noticed it! I did purchase King Arthur bread flower as well as the (insanely expensive around here) wheat gluten/protein. I used my kitchen scale to measure everything.
We also bought a fine mesh strainer for skimming the scum off the top of the stock pot, and a noodle cooking mesh/net/thing so we could cook single portions of noodles at a time (I like this better then making them all at once as it gets too crazy I think!). These things we bought at a different Vietnamese market in GR (A Dong).
Cooking – Broth
We decided to start making the broth on Friday afternoon. The plan was to actually eat the ramen on Saturday evening, but we wanted a day to start so that, hopefully, Saturday we could focus on making the other ingredients/toppings. This turned out to be a pretty big mistake as we didn’t really truly get started boiling until around 4:30 PM. The goal was to boil the broth AT LEAST 10 hours, which meant I was going to have to shut the broth off around 2:30 AM.
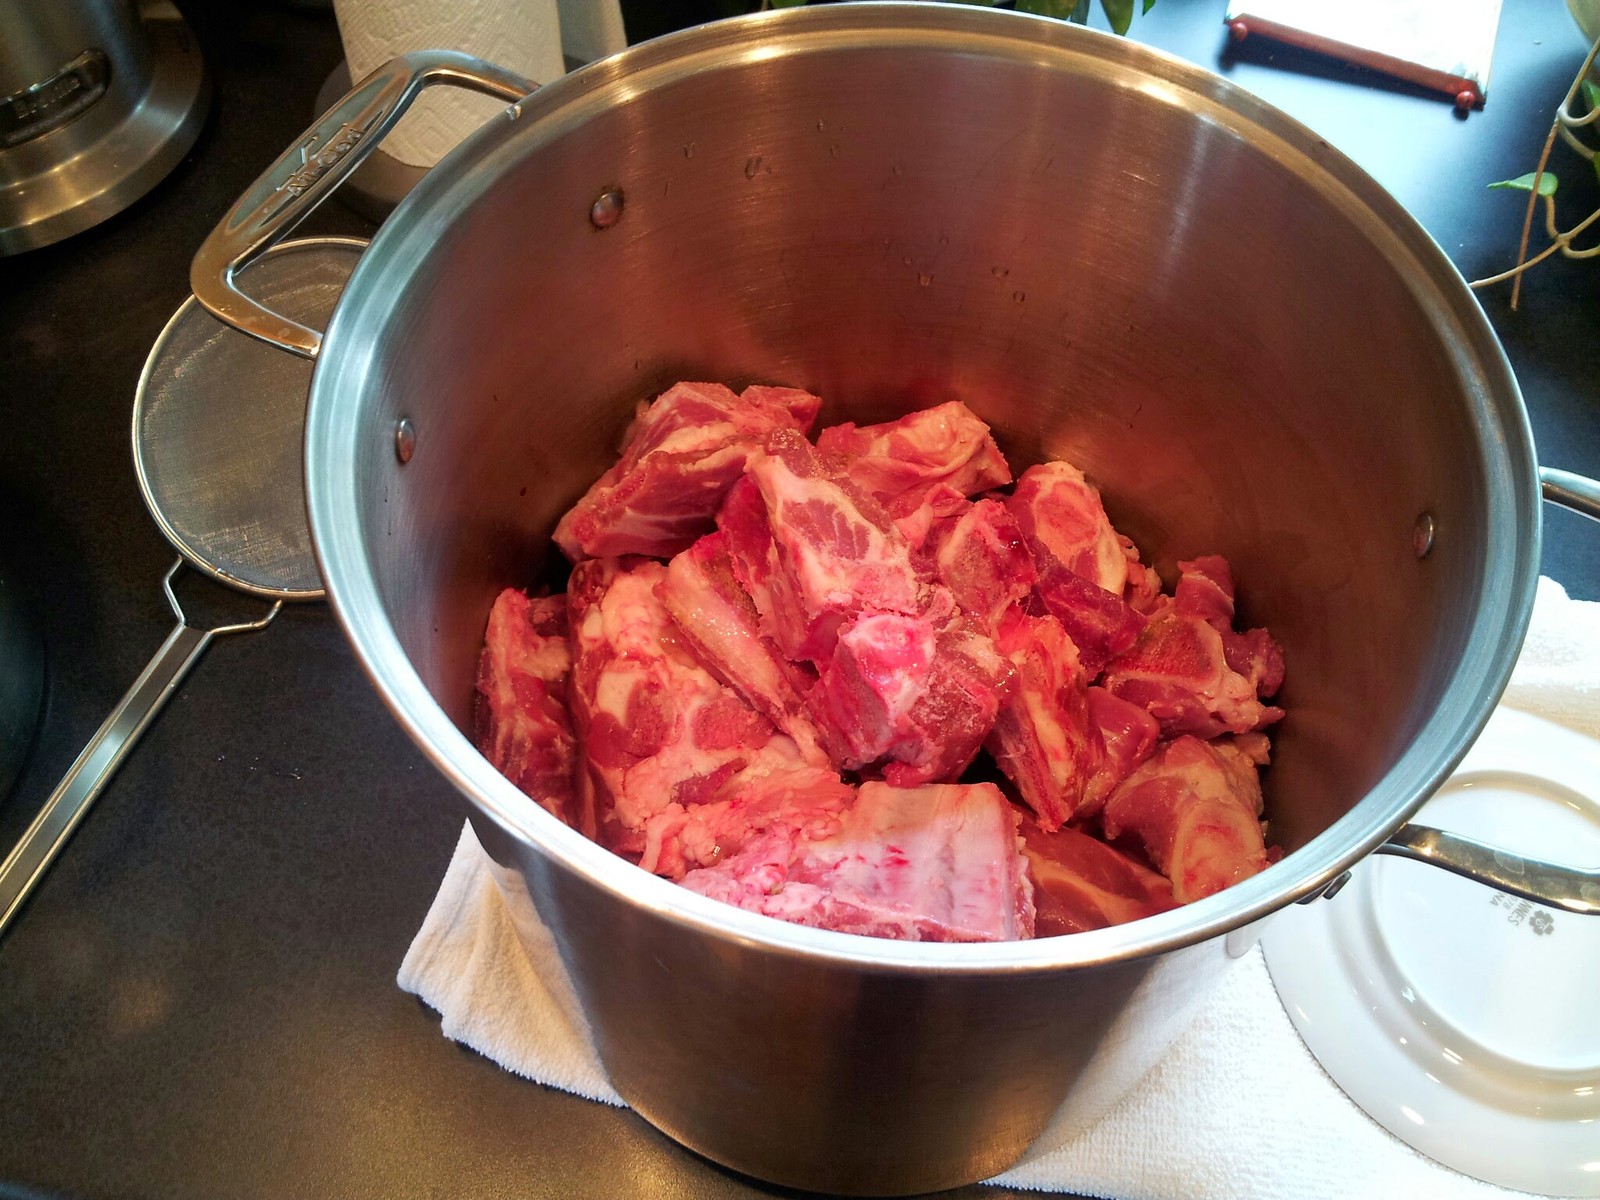
Anyway, here are the pork bones before I started blanching them. Note that this stock pot ended up not being large enough and I had to use a pot around twice as large to fit the pork, chicken feet, and chicken wings.
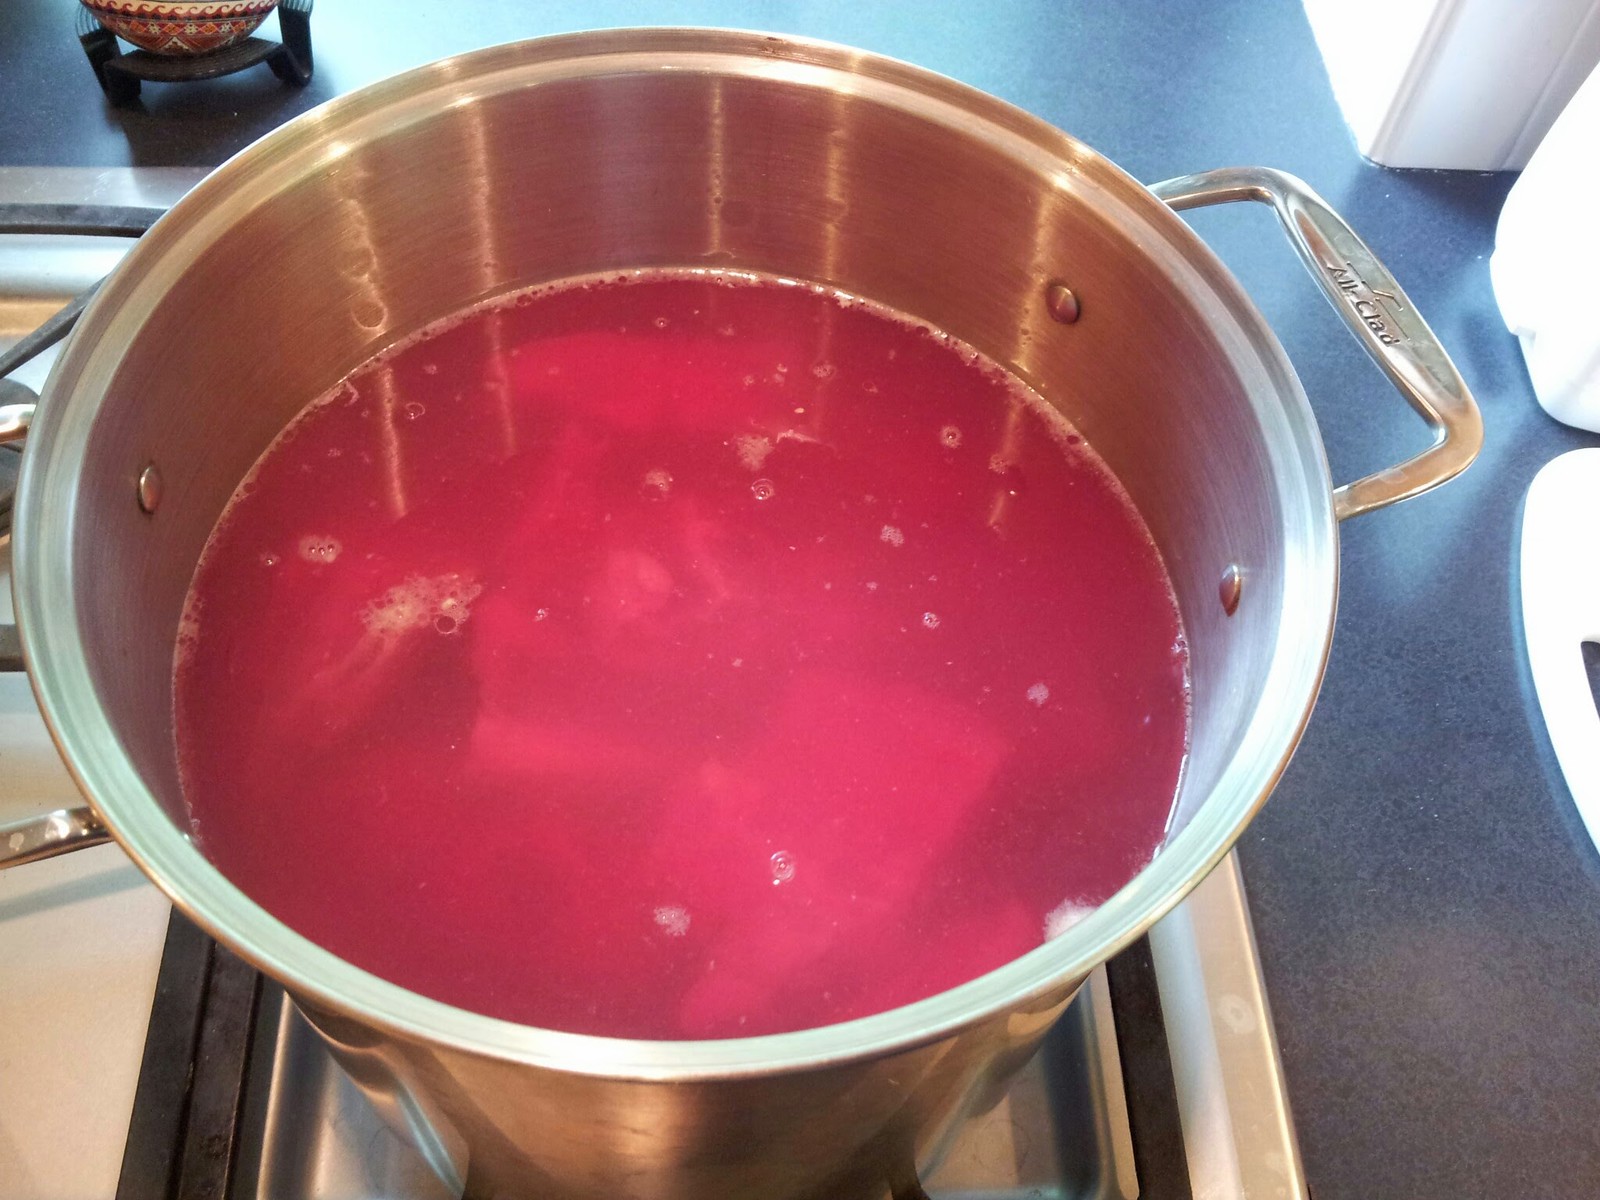
Here is the water of the bones right after I added water and put it on the stove to boil.
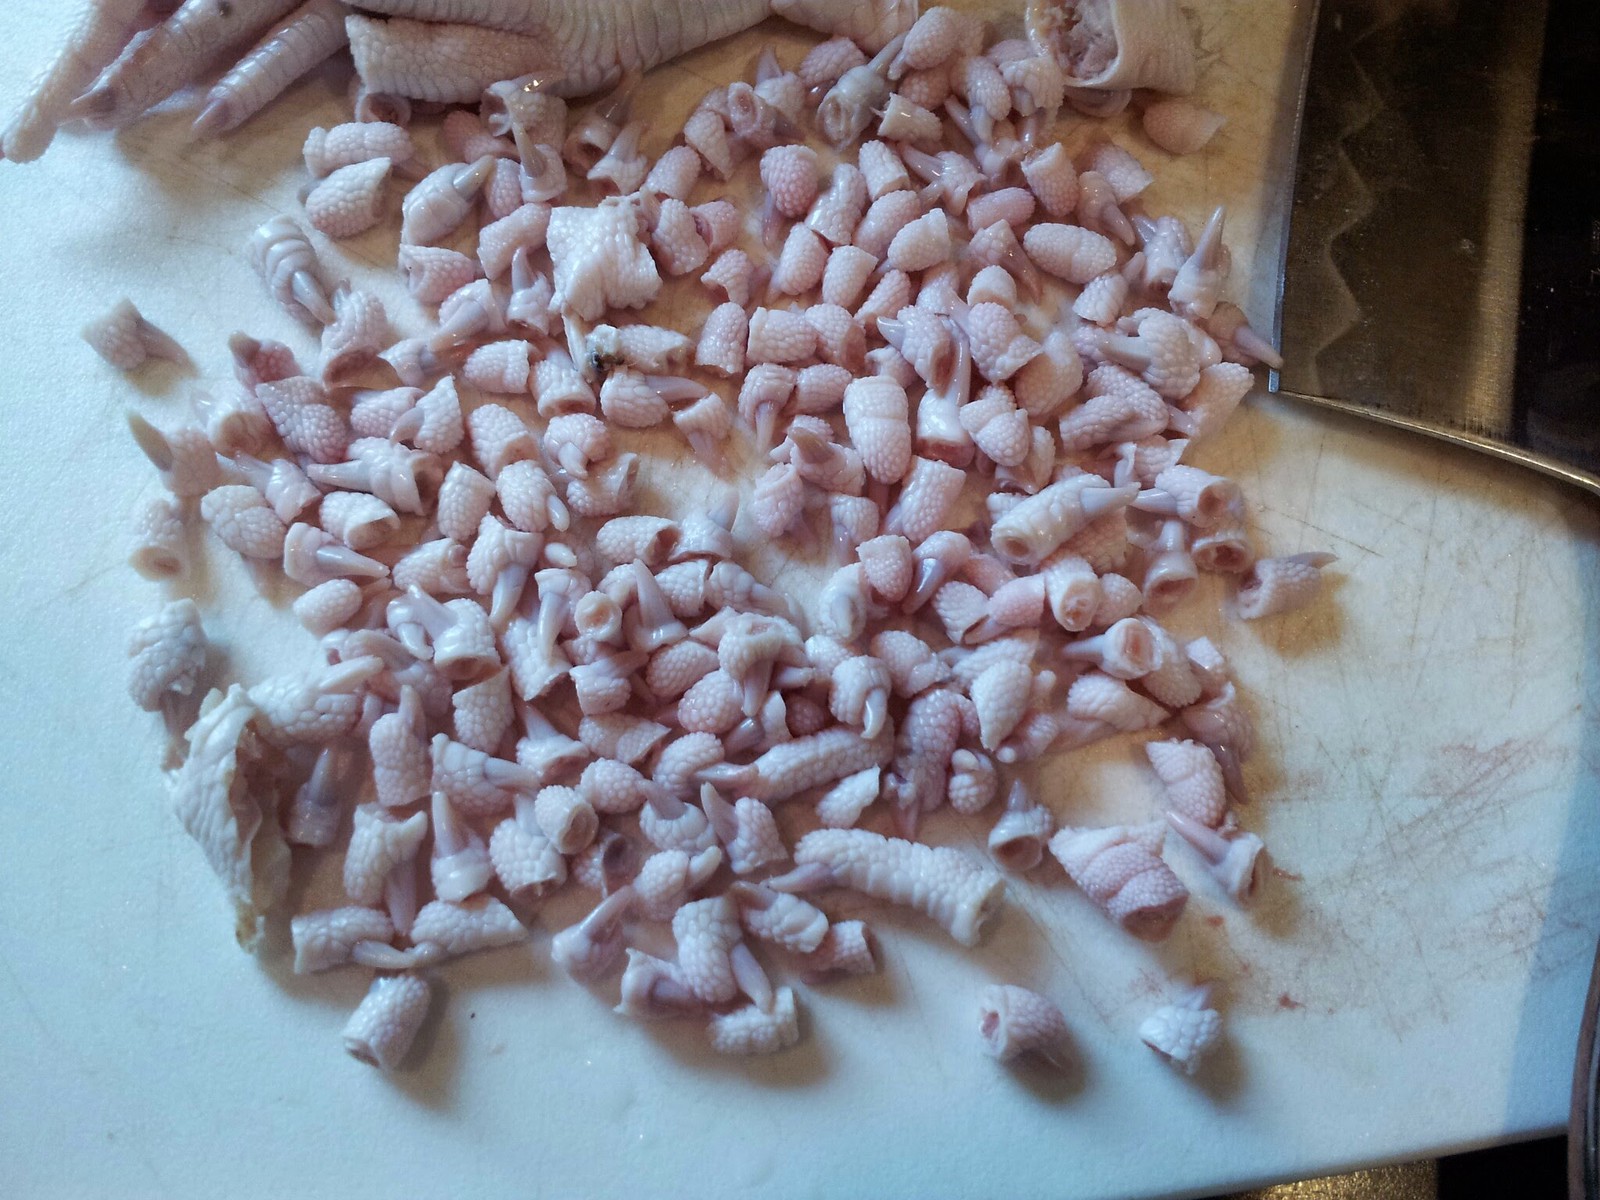
Meanwhile, I started chopping toes off of chicken feet, per the directions. This took a bit longer then I would have expected, but wasn’t too hard. I have a new respect for chickens though after doing this. Their feet are pretty complex and interesting little things.
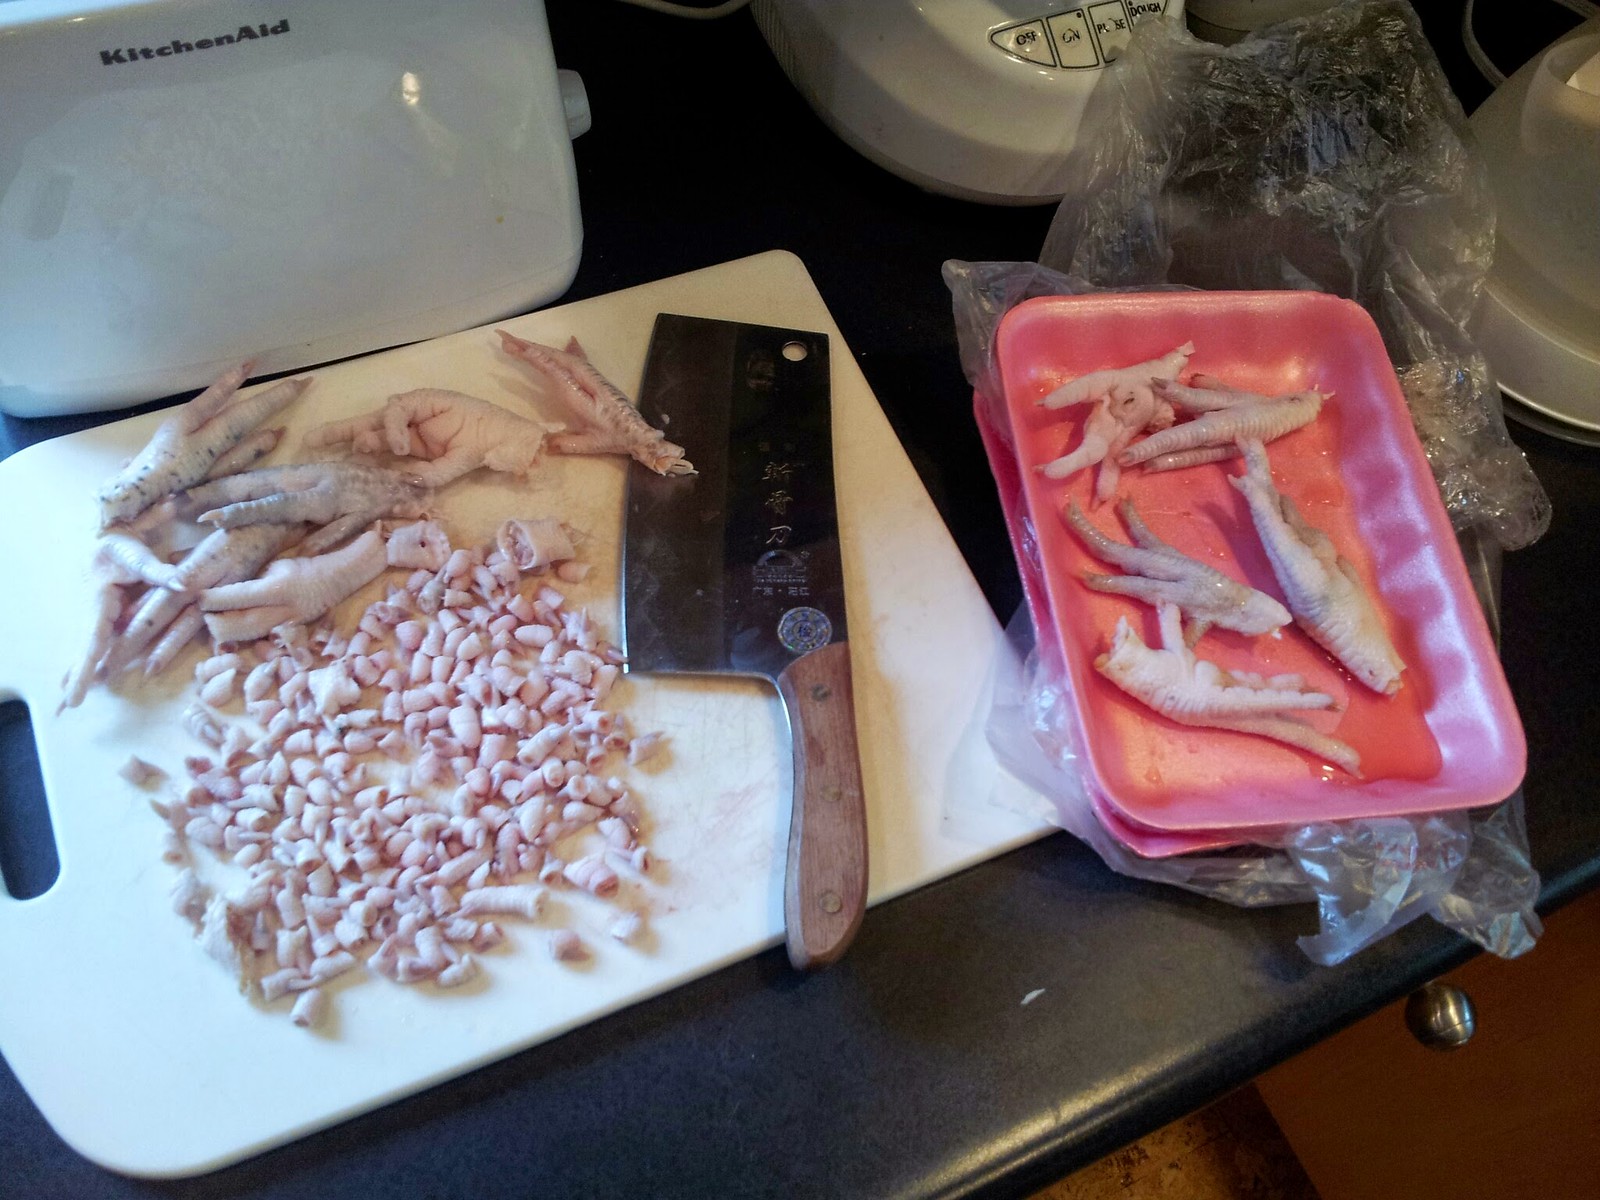
Lots of chicken toes
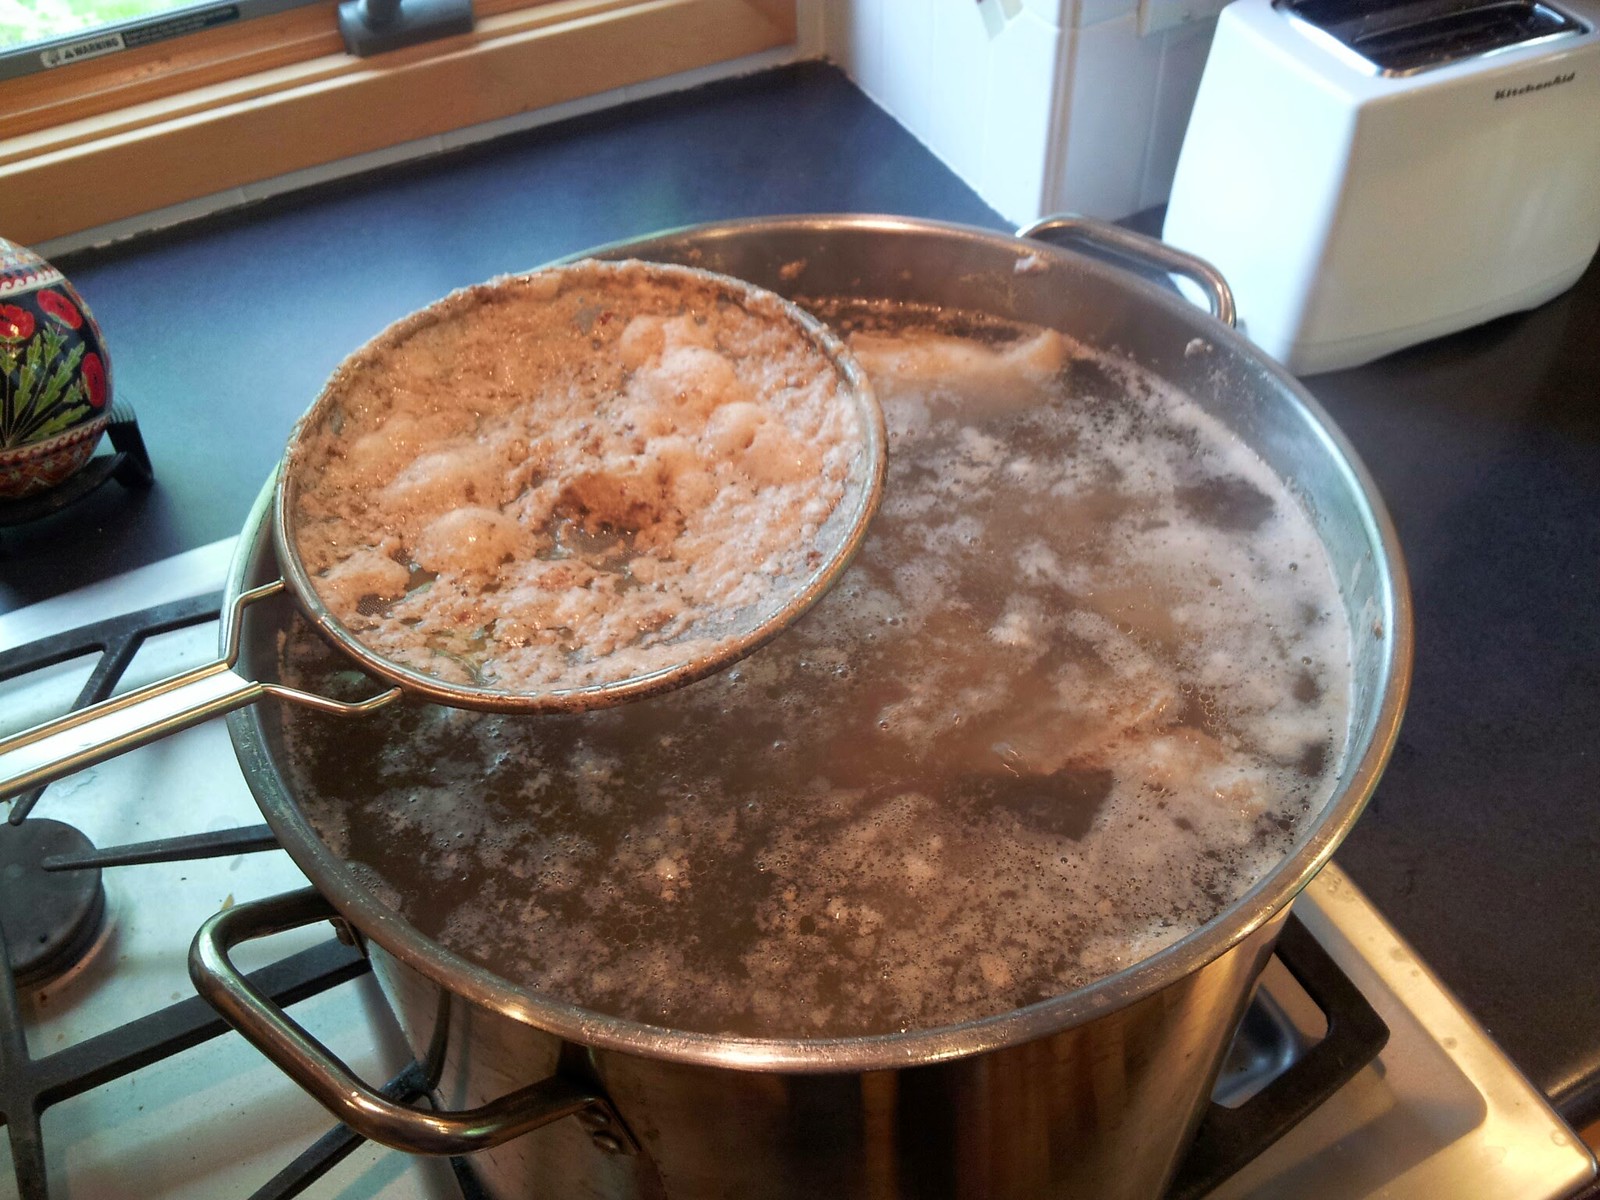
Meanwhile, I started to get some scum (yaaa!!) on the top of the pork bones, which I skimmed off.
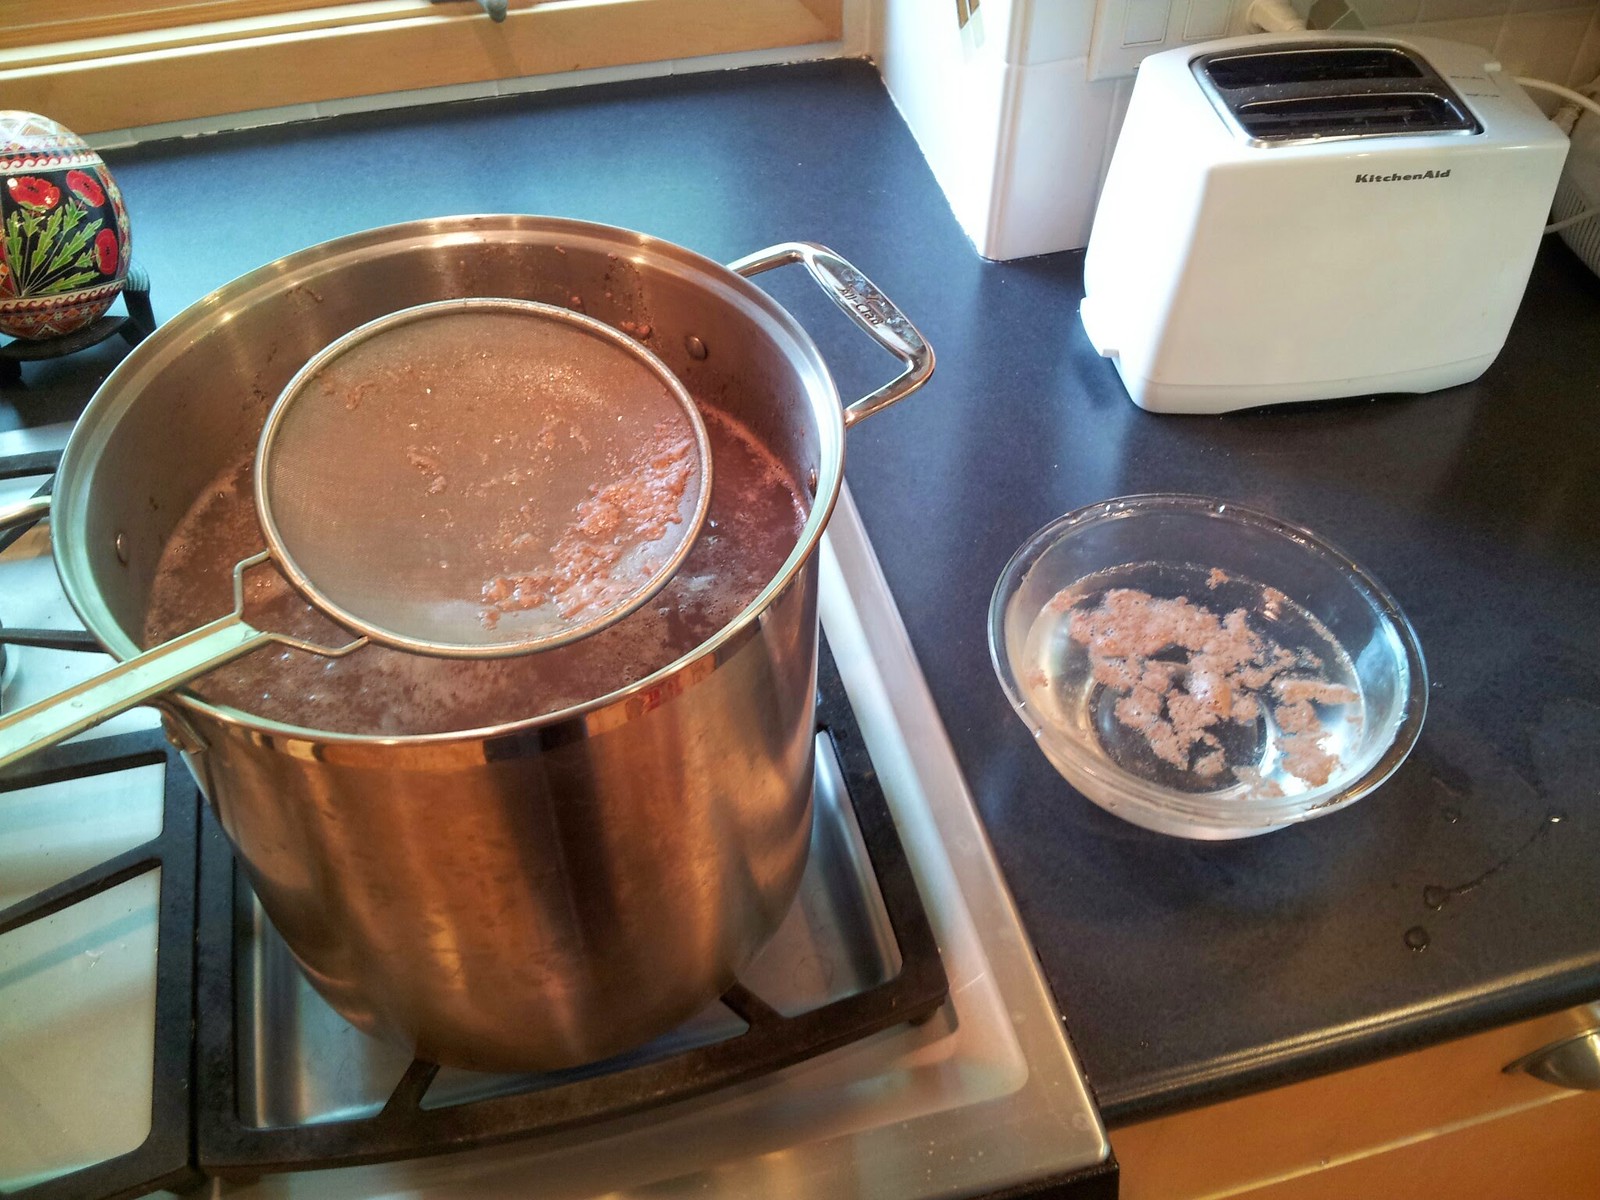
Eventually the scum really started to come up and I was removing more every 30 seconds to a minute

Until eventually you could see that the broth was getting a bit more clear and scum was forming more slowly (the spoon is full in this photo but you can see not as much scum is on the surface – well, you sort of have to trust me I guess :))
I also blanched/cleaned the chicken feet, though per directions (and my experience seemed to confirm this) for much less. I think I boiled the feet for perhaps 15 or 20 minutes tops, but nothing really came to the surface. I at least felt better knowing that the feet were “clean.”
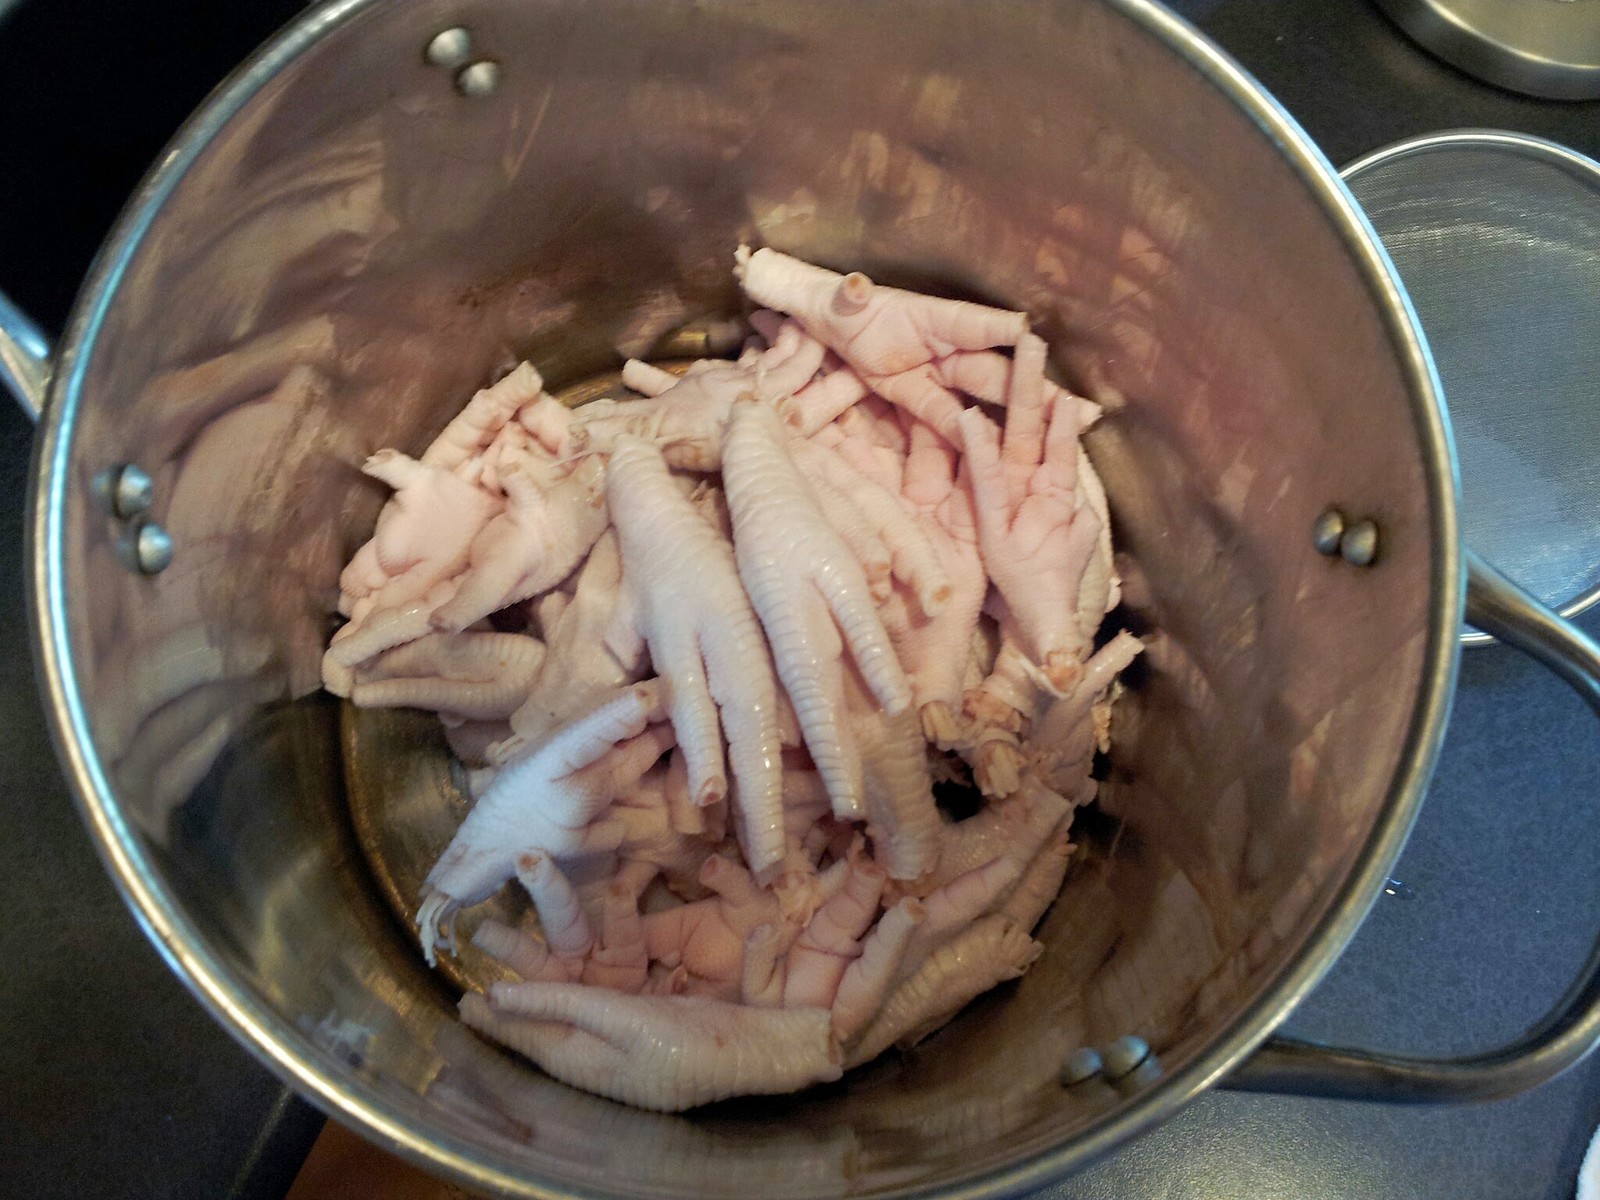
I boiled the pork bones for quite a bit longer. I’d say closer to 45 minutes, maybe even a bit longer, before I really felt like nothing else was floating to the top.
After I dumped out the water from the pork bones I went through the bones one by one to remove any extra brown stuff sticking to them, any blog or anything else that didn’t seem like it should be there or like I’d prefer not to eat it. This didn’t take too long, but long enough (part of the reason I didn’t get started truly boiling until later in the day).
This photo is of the bones back in the pot, post cleaning, but prior to adding the chicken feet or wings. It’s probably worth pointing out that these bones might not look like they are “supposed” to look, and anybody reading this or looking at the photos that can tell me if the bones look like they aren’t ideal in terms of what types of bones/what types of femurs they are, I’d love to hear! I think there might be a bit more meat on these bones then I’d have liked.

Cooking – Eggs
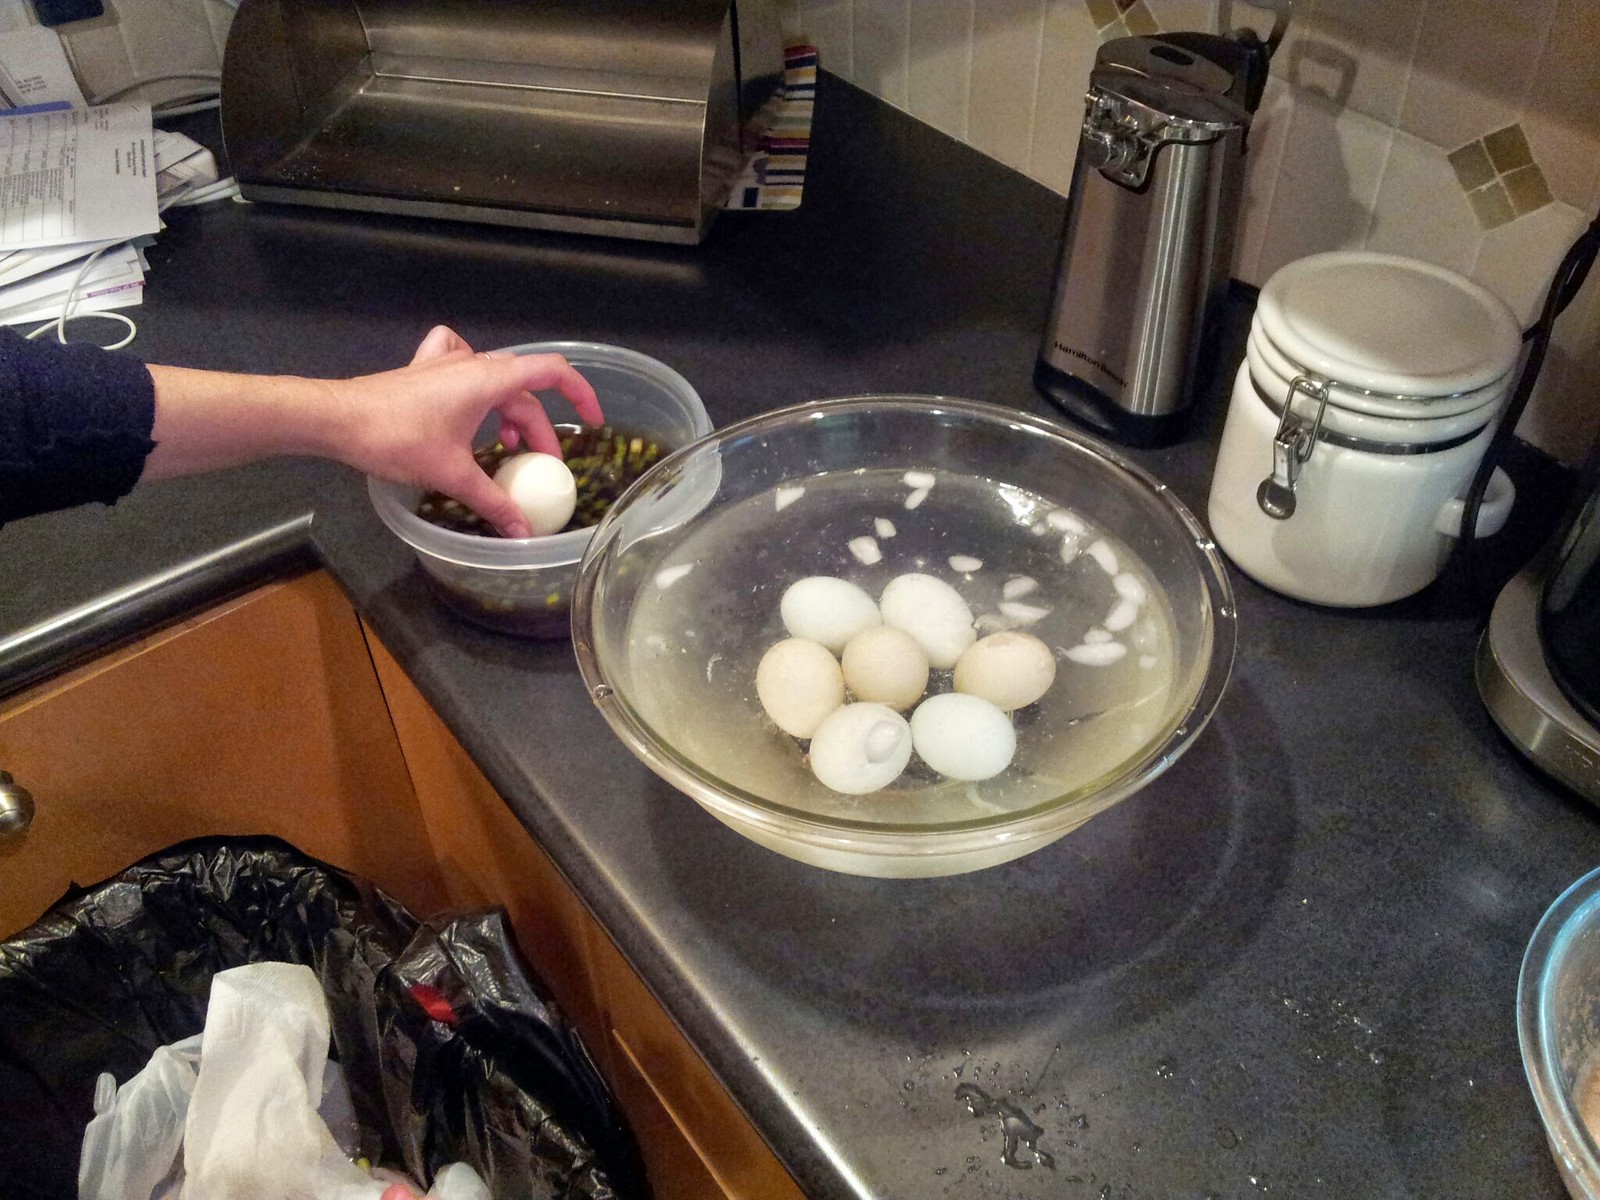
Sometime around the time or perhaps during my broth cooking, Lindsay made the eggs for the ramen. This is pretty standard, she put the eggs in boiling water for around 6:45-7:00 minutes, after which she put them directly in ice water to cool them down. I’d say the cooking time was PERFECT. I had experimented with different times the day before, from 6:00 to 7:00 in 15 second intervals and all of the eggs were too raw, at least for my preferences, up until the 7 minute mark. Possibly because of the size of the eggs (these are “large” eggs, though in my experience the size of a “large” egg can vary quite a bit!).
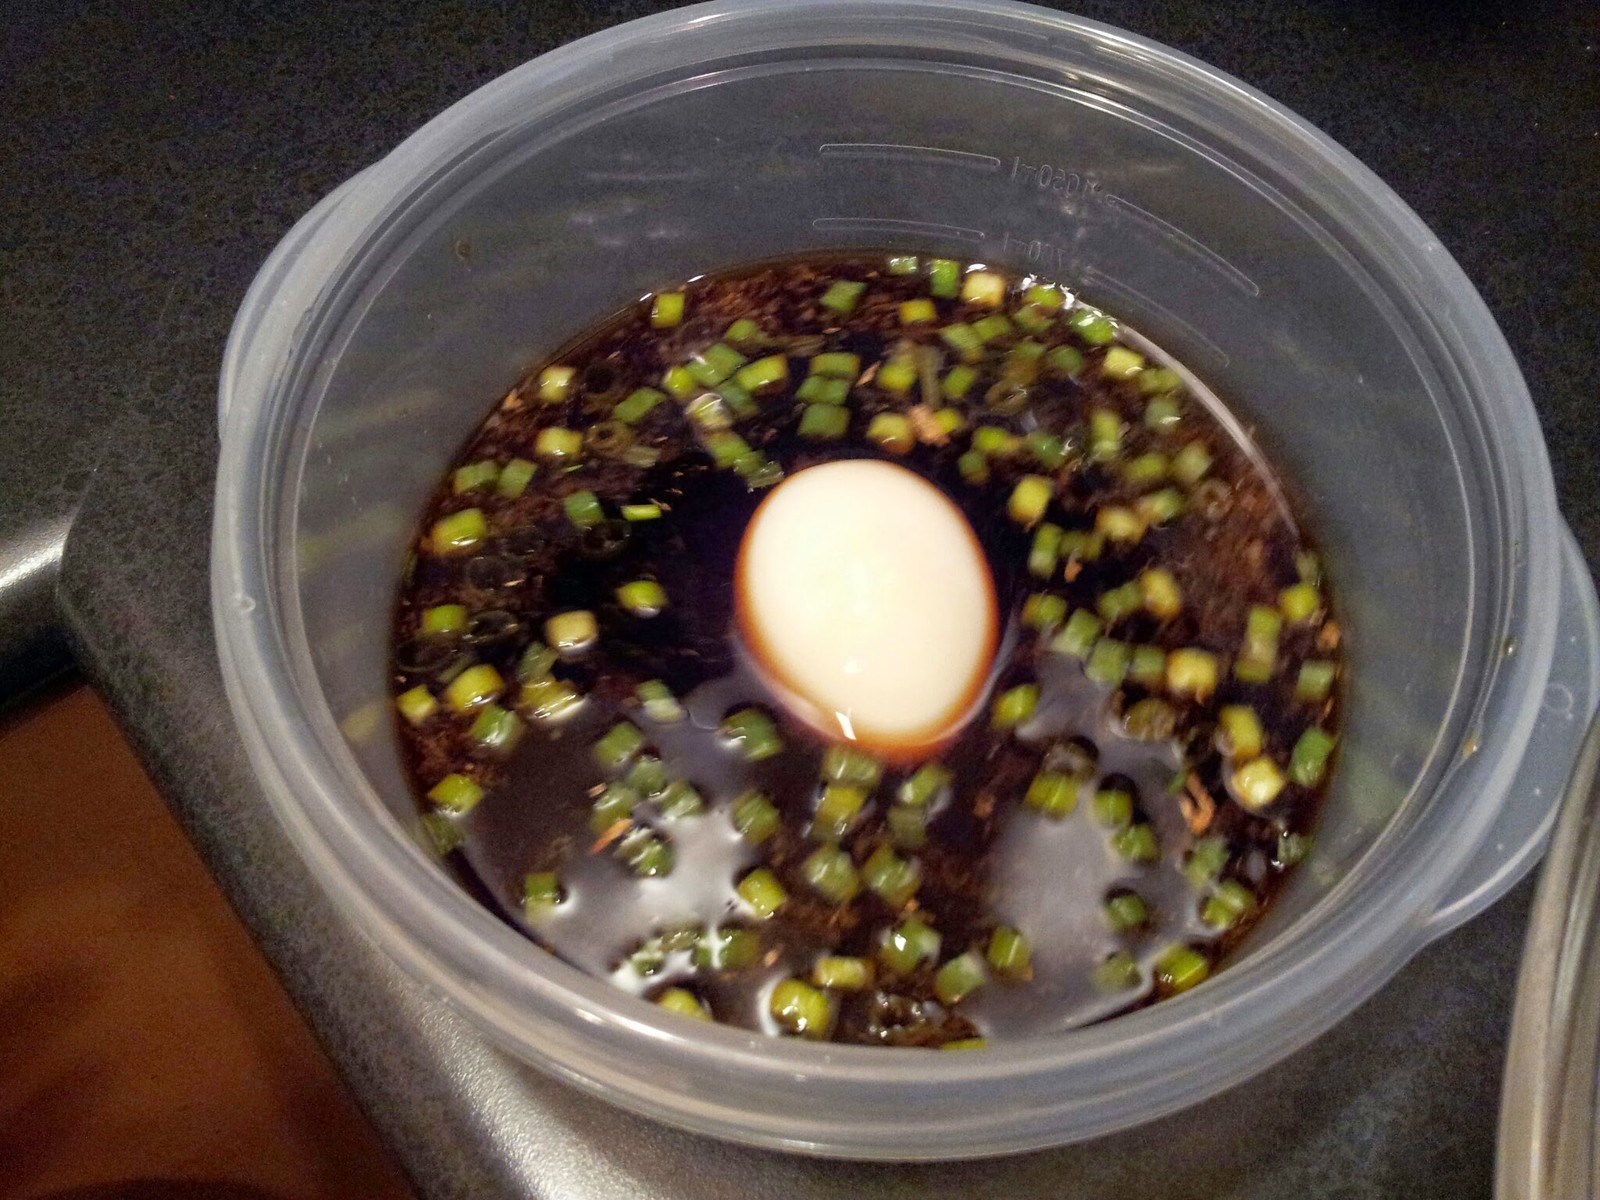
The sauce is a mix of mirin and soy sauce, roughly 50/50. Also some green onions.
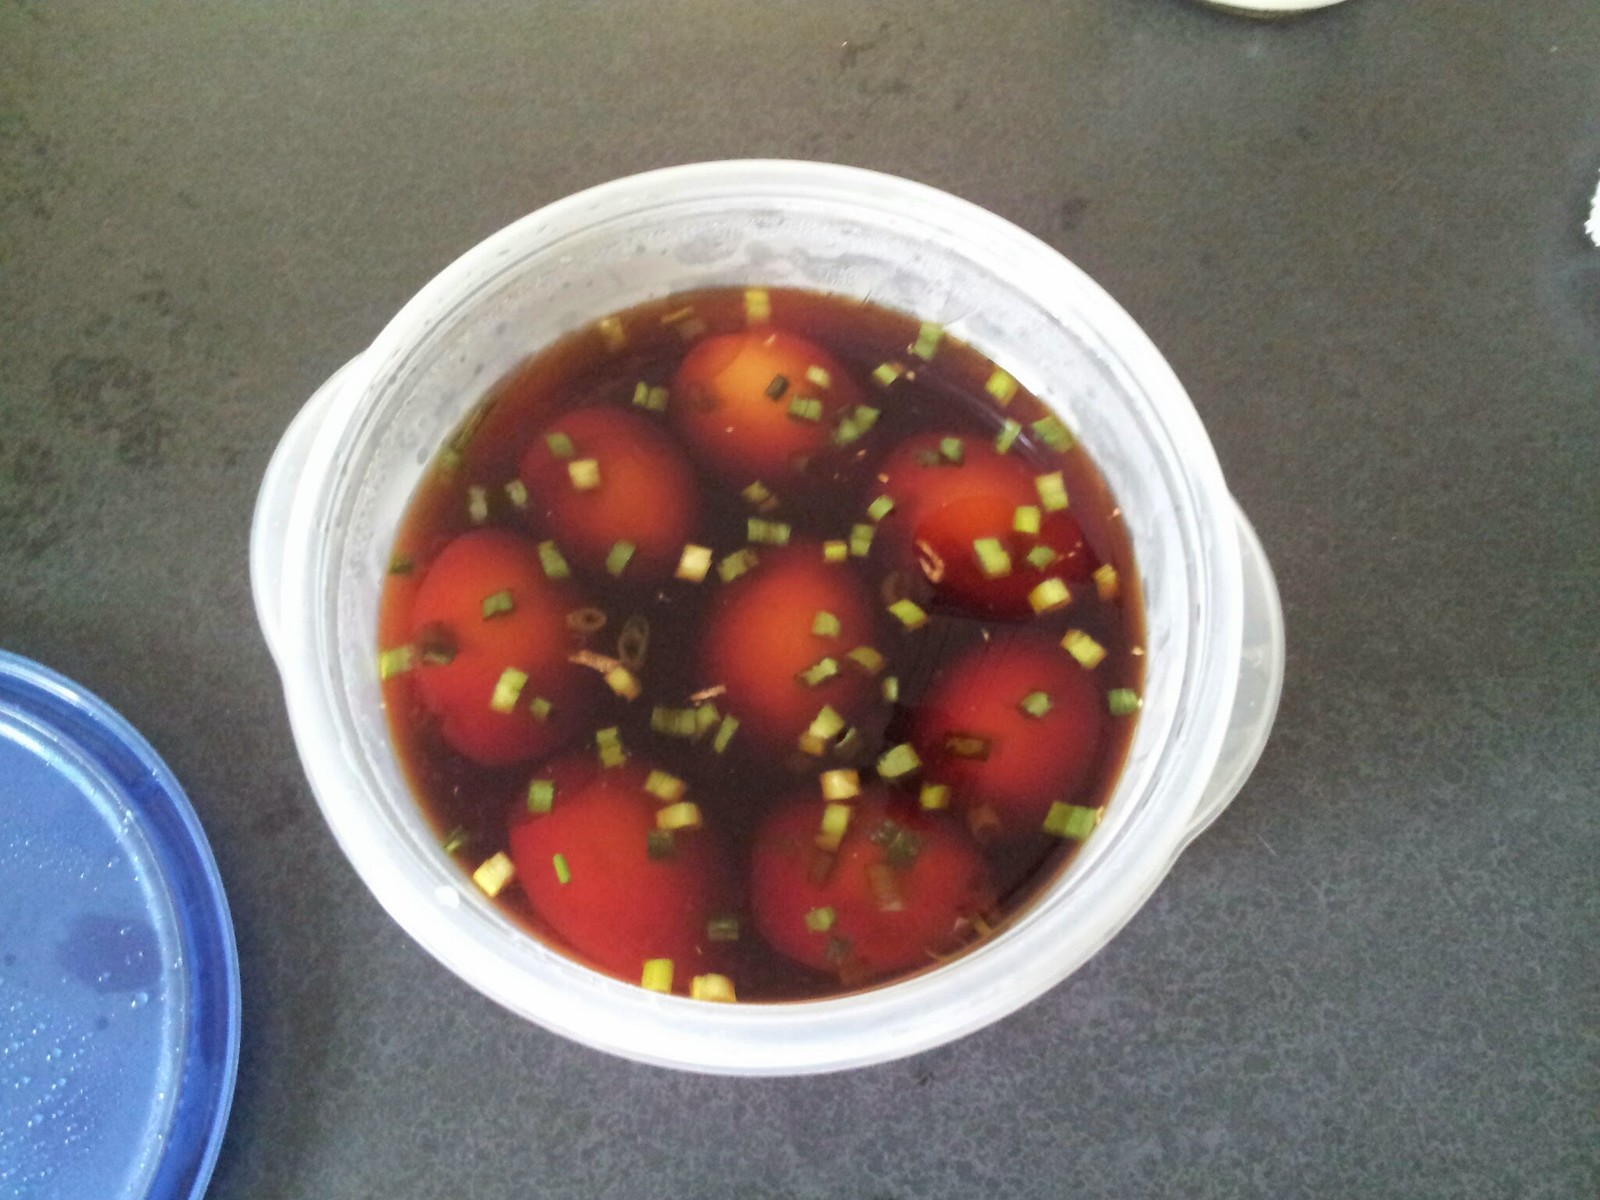
Here are all of our eggs in one basket (LOLOLOLOLOLOLOLHAHAHA!!!!111).
Next day…
Cooking – Chashu
I made the pork/chashu the next day, starting in the morning first thing. Side note: I think I spent about 10 hours making this recipe (including all ingredients).
I started by removing the skin from the pork belly.
I then took off a bit of the pork so that I could easily roll the pork. It’s probably stupid, but I far far far prefer the pork to be rolled. In Japan I feel like the large, large majority of ramen that you eat has rolled pork. Given I don’t know that much about ramen in reality, we ate at probably 16 or so different ramen places in Japan and I’d say at least 75% had rolled pork. It’s not because I think it tastes different (probably), I just like the aesthetic I think.
(I used cheap cotton twine (100% cotton, I checked and tested) from the Vietnamese market, but it worked well)
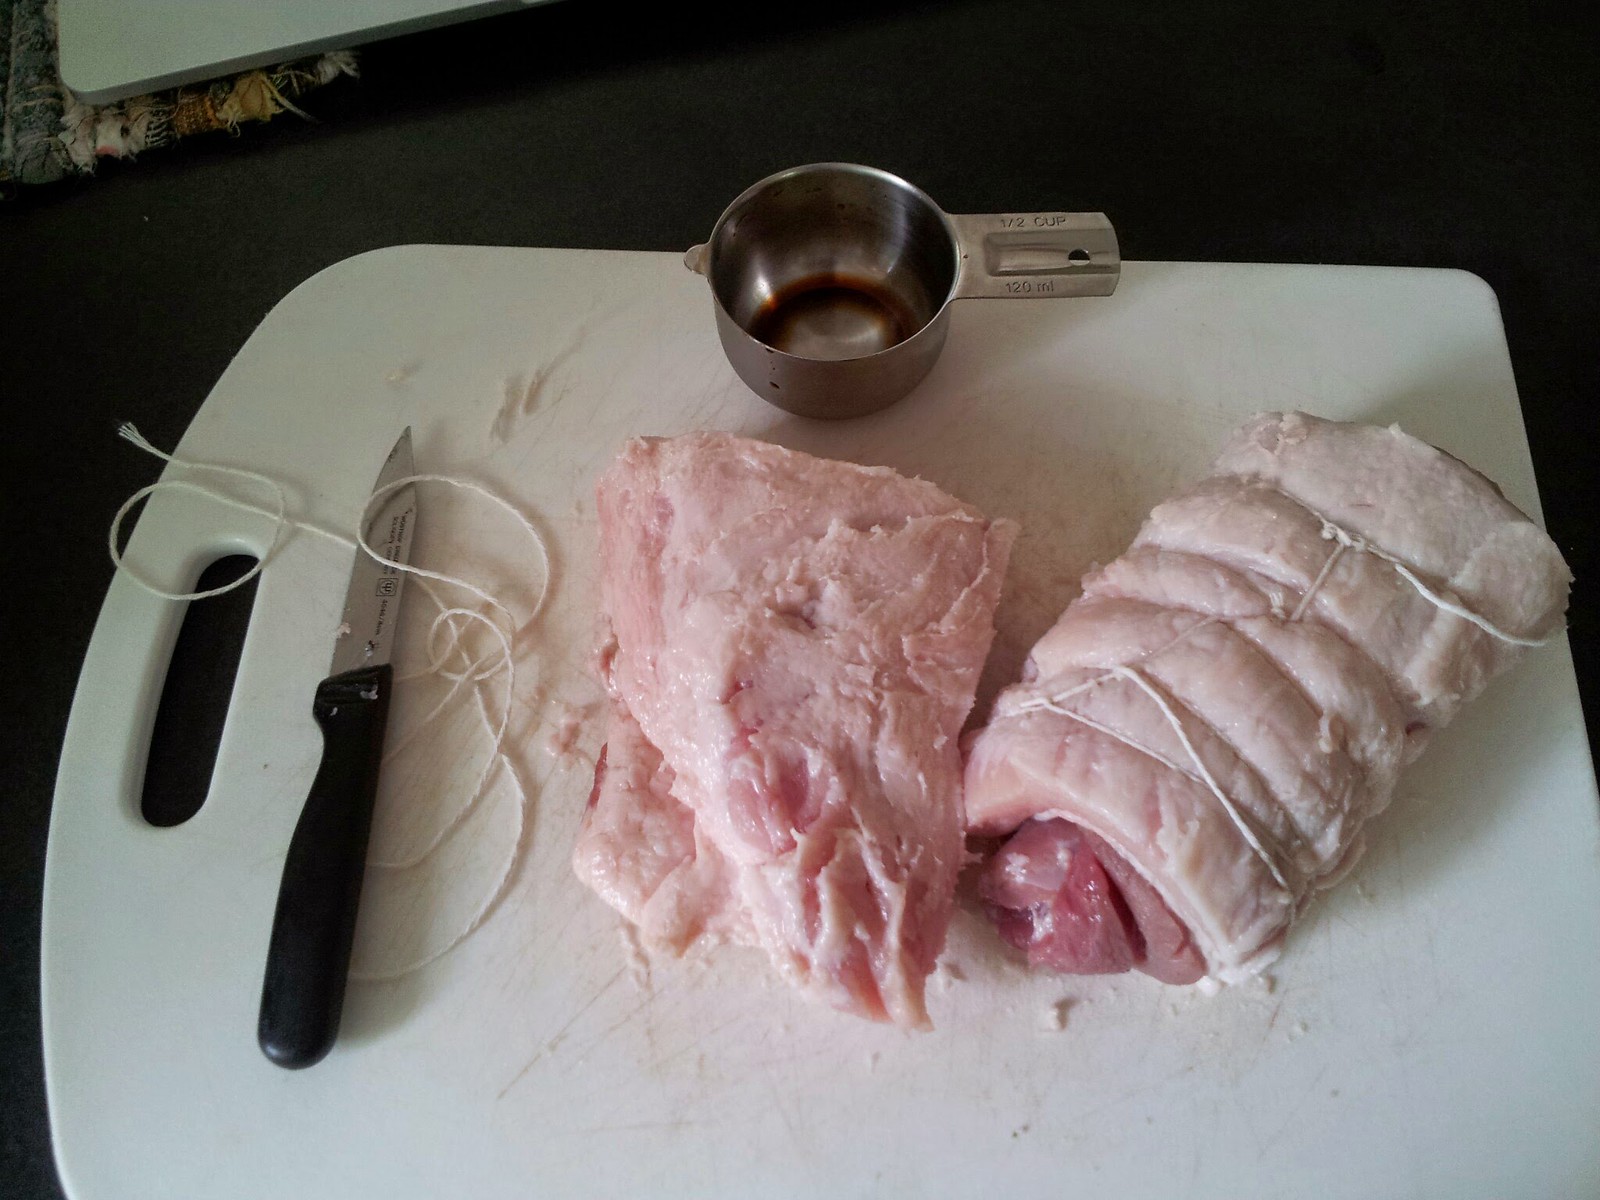
After cutting/trimming and rolling the pork I used this very cast iron pan..
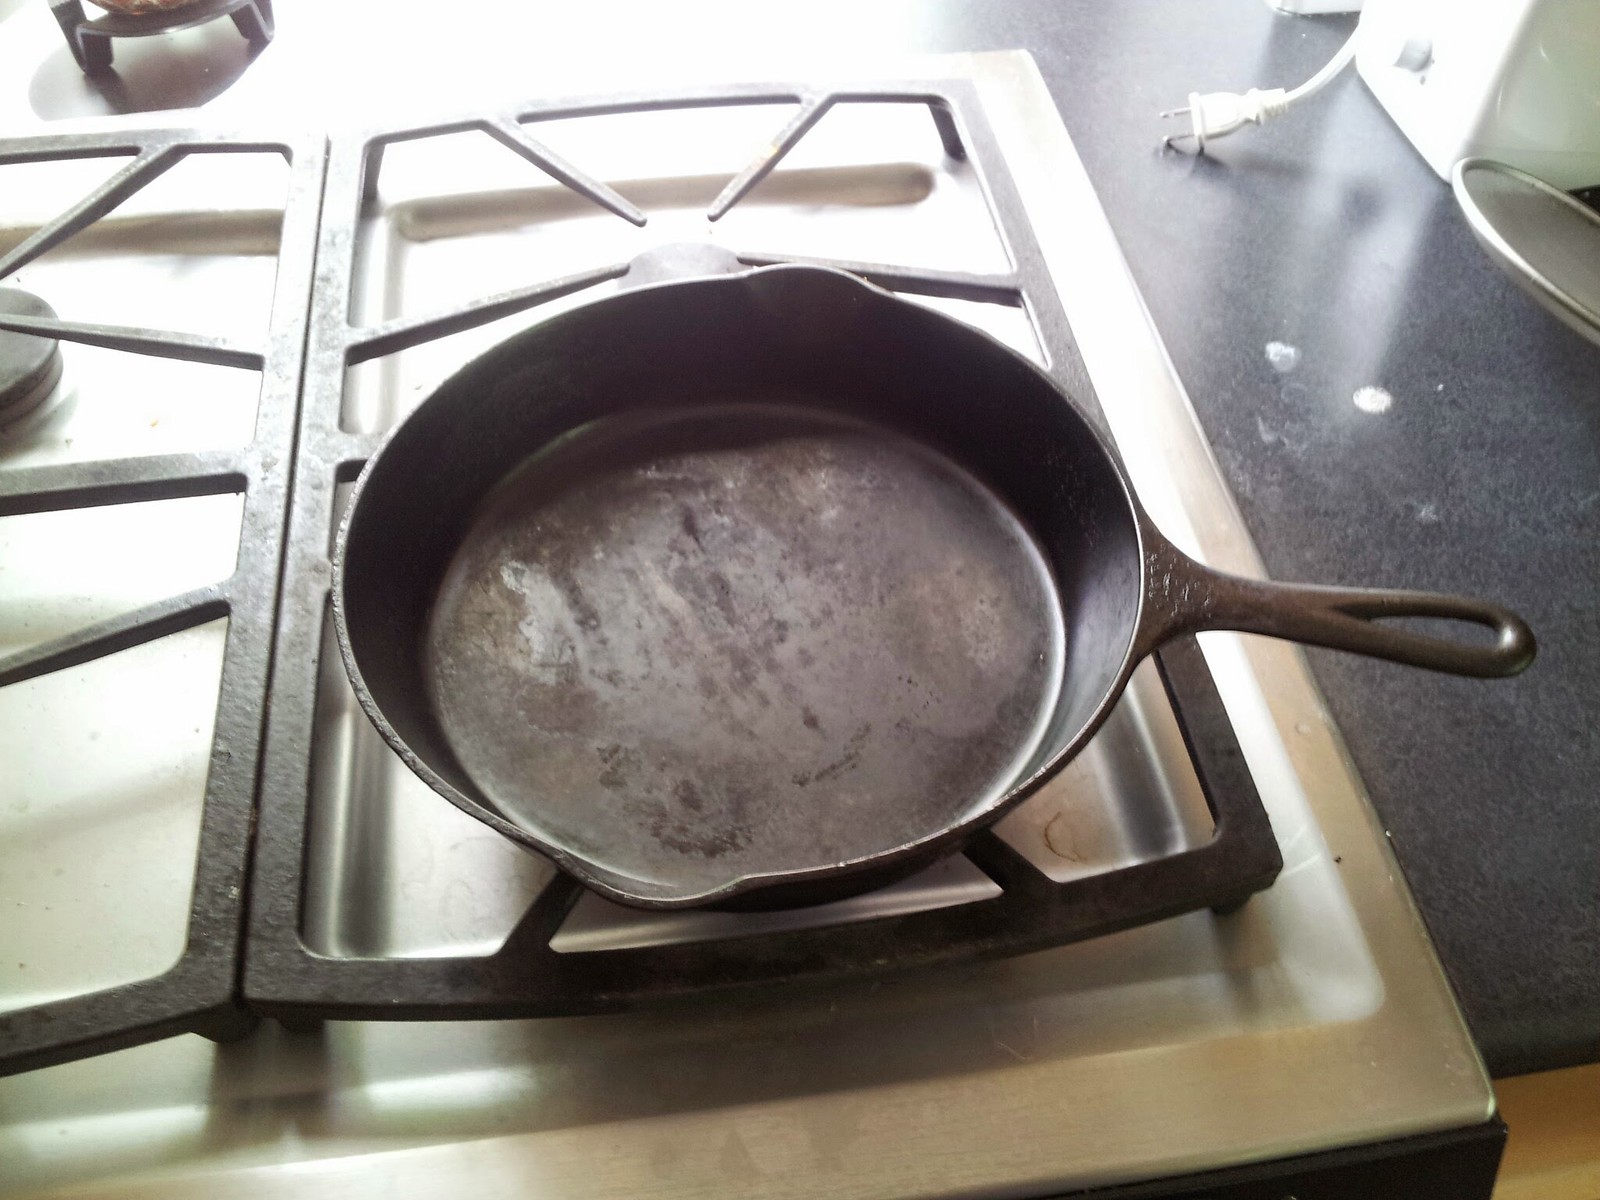
To sear the pork. I used a bit of vegetable oil and made sure the pan was very hot before starting.
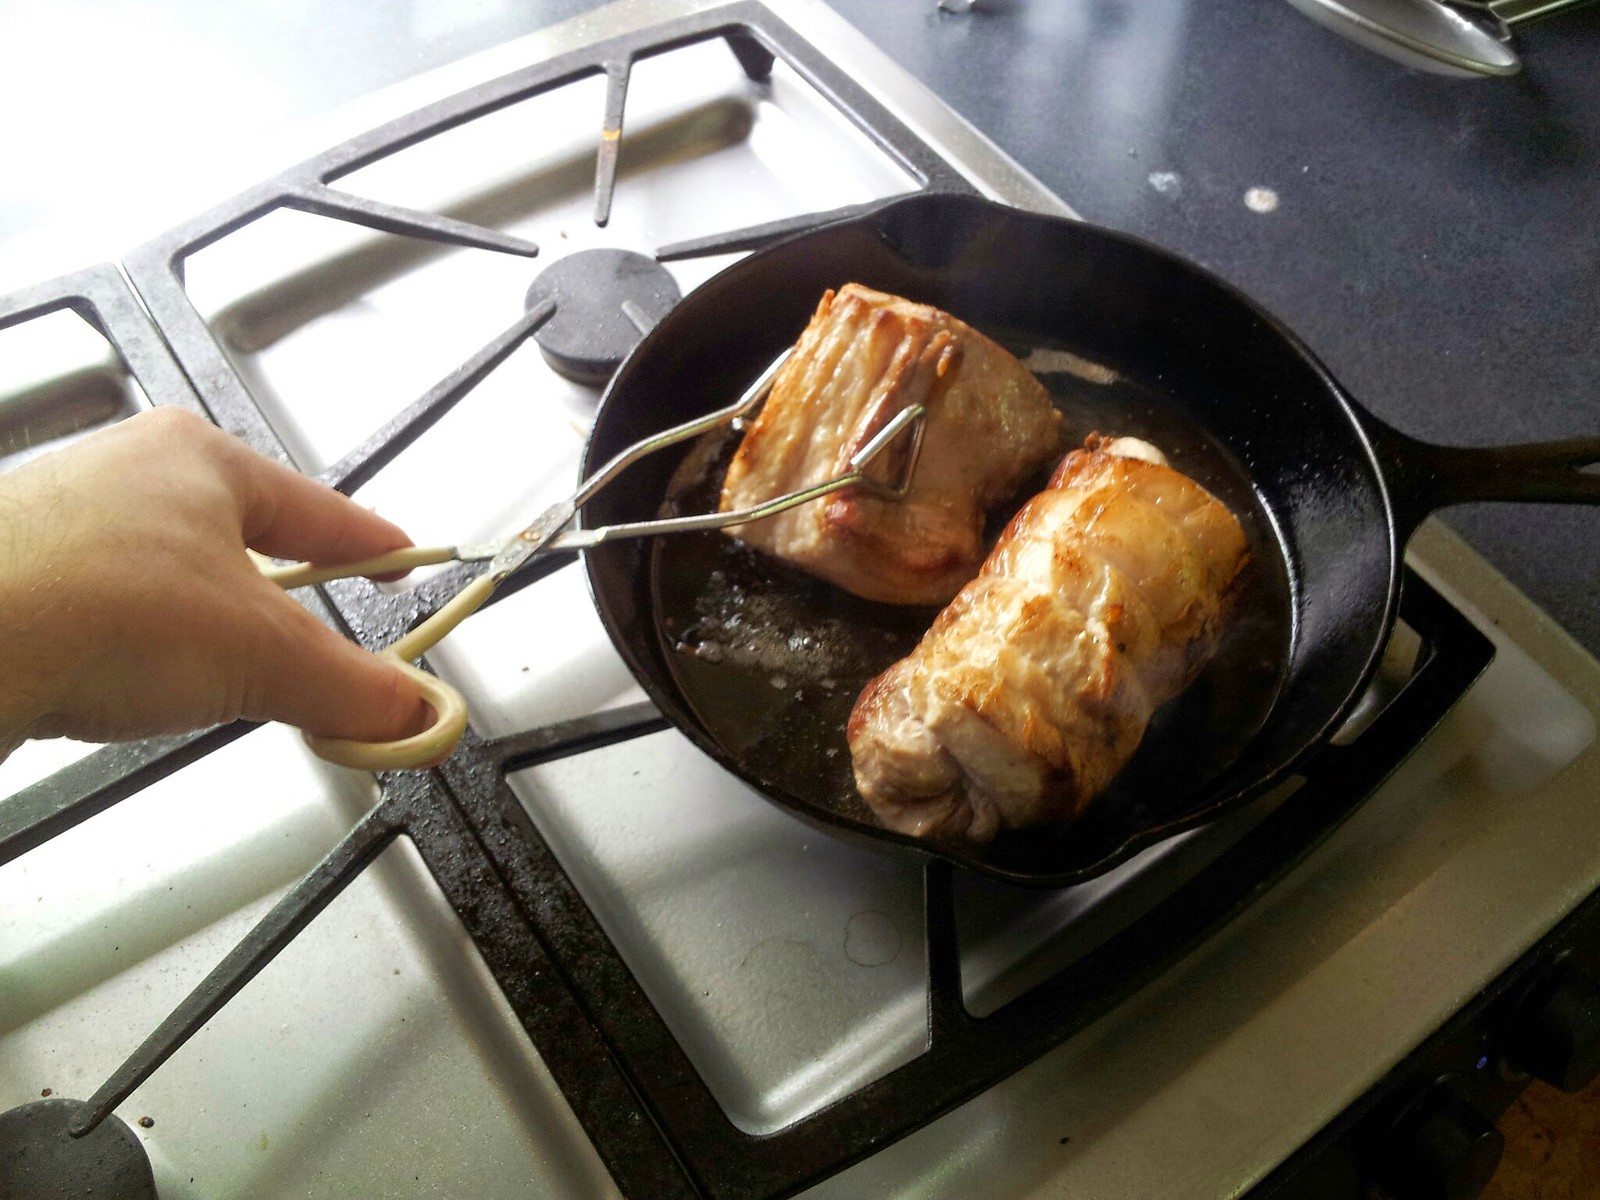
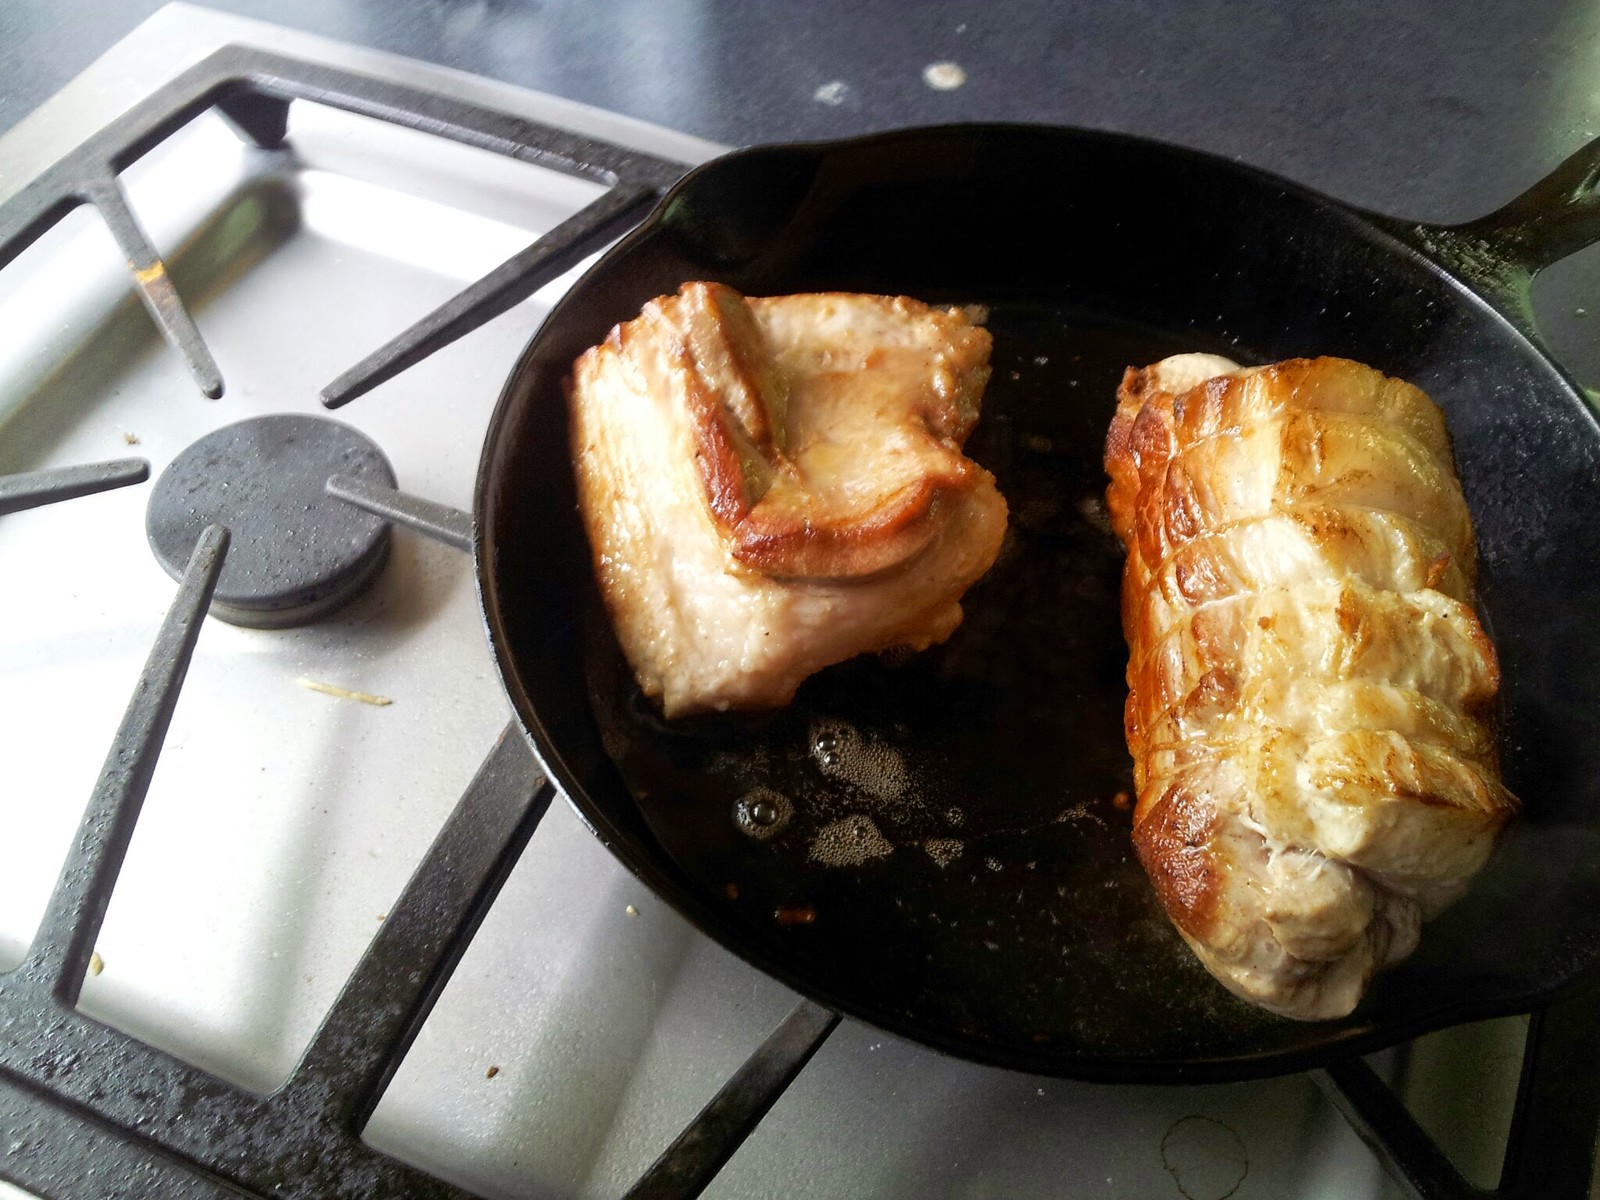
After a good sear I started basting the meat. I did this for longer then I probably needed to, but after the sort of unsatisfying pork broth work (basically just watching and adding a bit of water every once in a while). The basting liquid was ~ 1/2 cup sake (which I used first to deglaze the pan), 1/2 cup mirin, 1/2 cup soy sauce, 1/2-1 cup of water (a bit less then the recipe called for), and a tablespoon or so of granulated sugar. ramen_lord, if you are reading this, I tasted this and it was interesting and I didn’t want to add TOO much sugar.

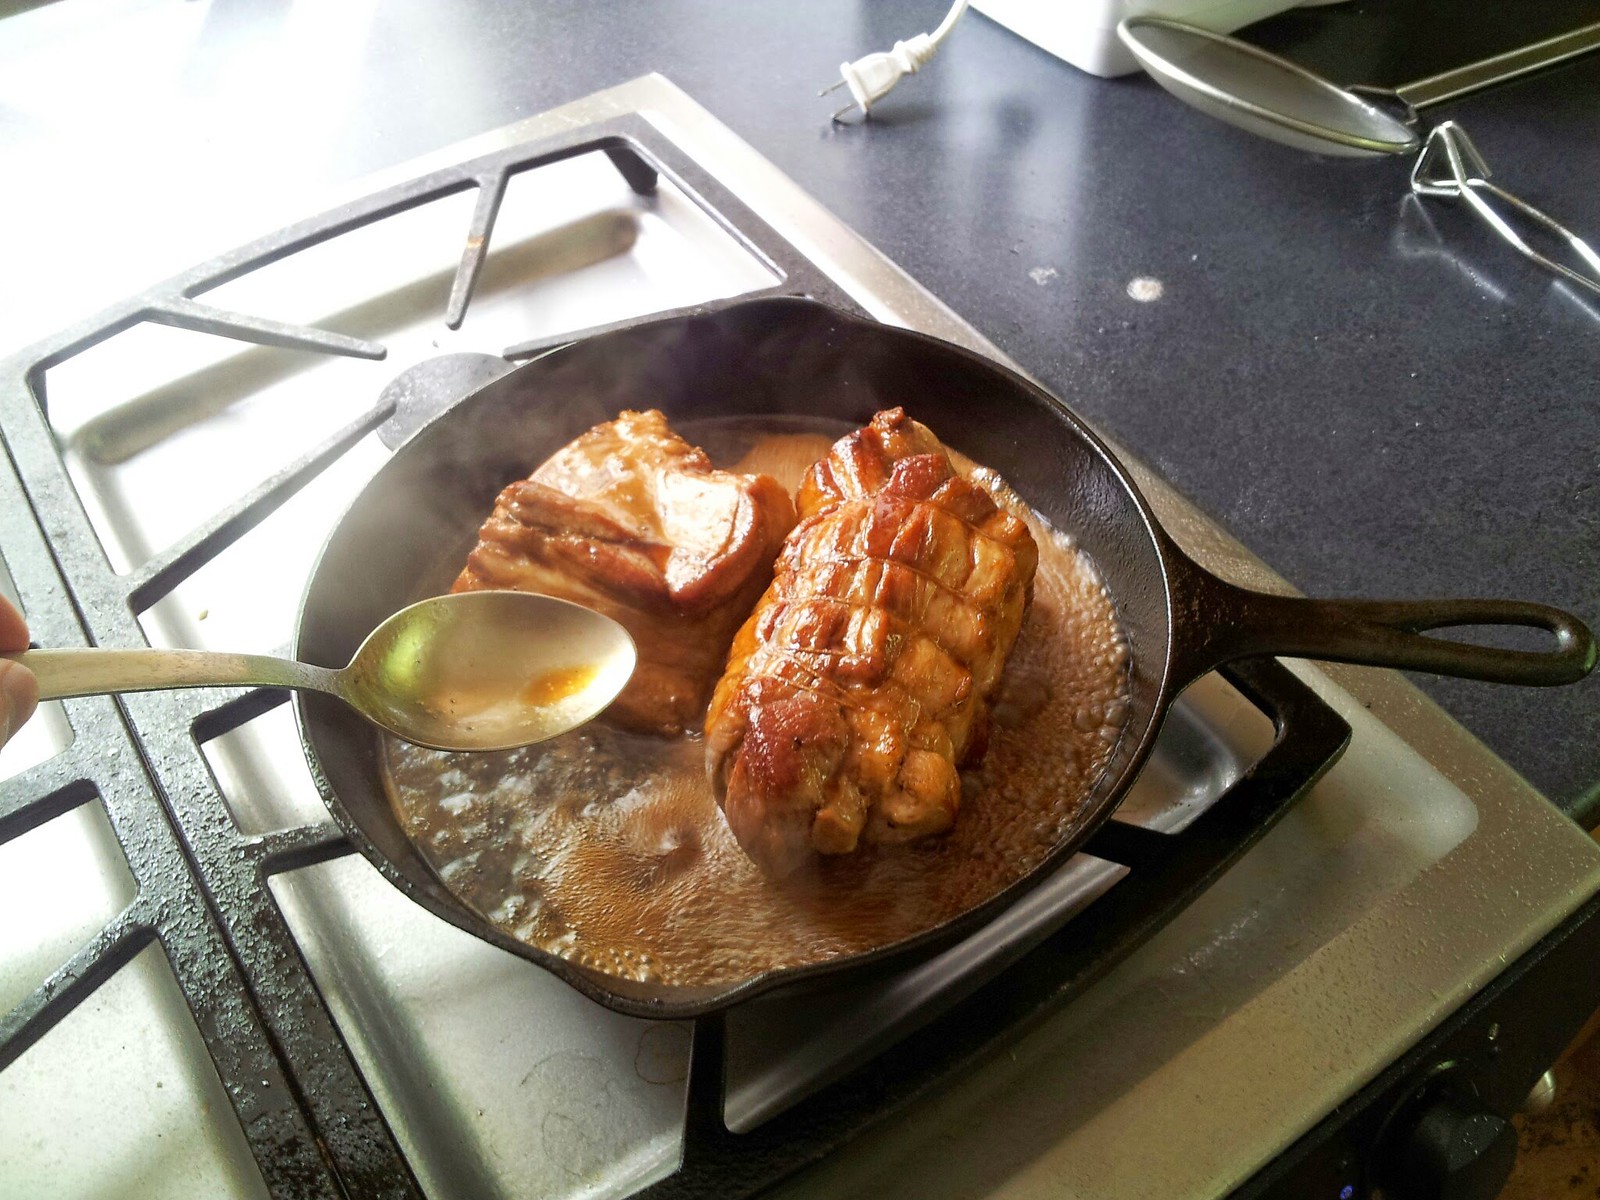
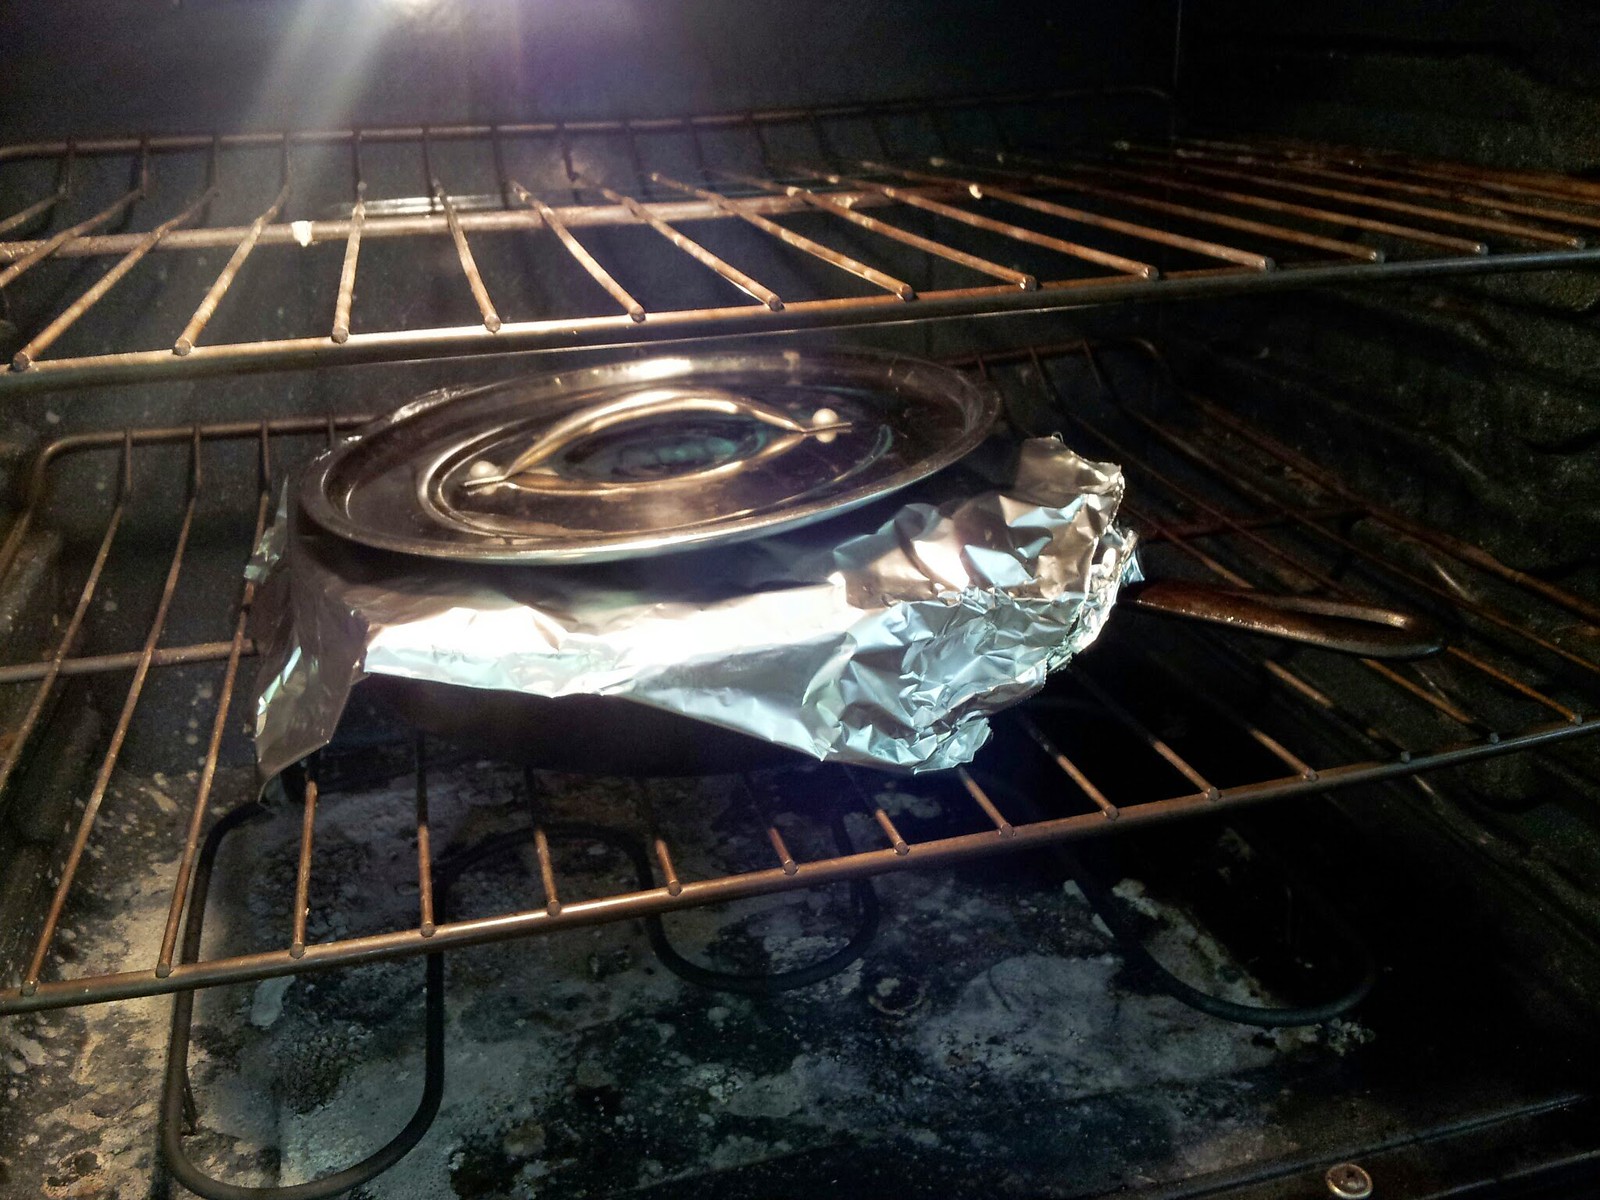
I’d say I basted the pork for a good 30 minutes to an hour. It was quite satisfying and smelled great. Eventually I put a piece of tinfoil on the pork and put it in a 230ish Fahrenheit oven, where I left it for a bit over 3 hours. I’d say for this particular cut of meat (and the amount of meat vs fat) 3 hours was JUST about good, though I think it could have gone for another hour and perhaps even been more tender and melt in your mouth. Melt in your mouth/tender and not at all chewy was what I was hoping for.
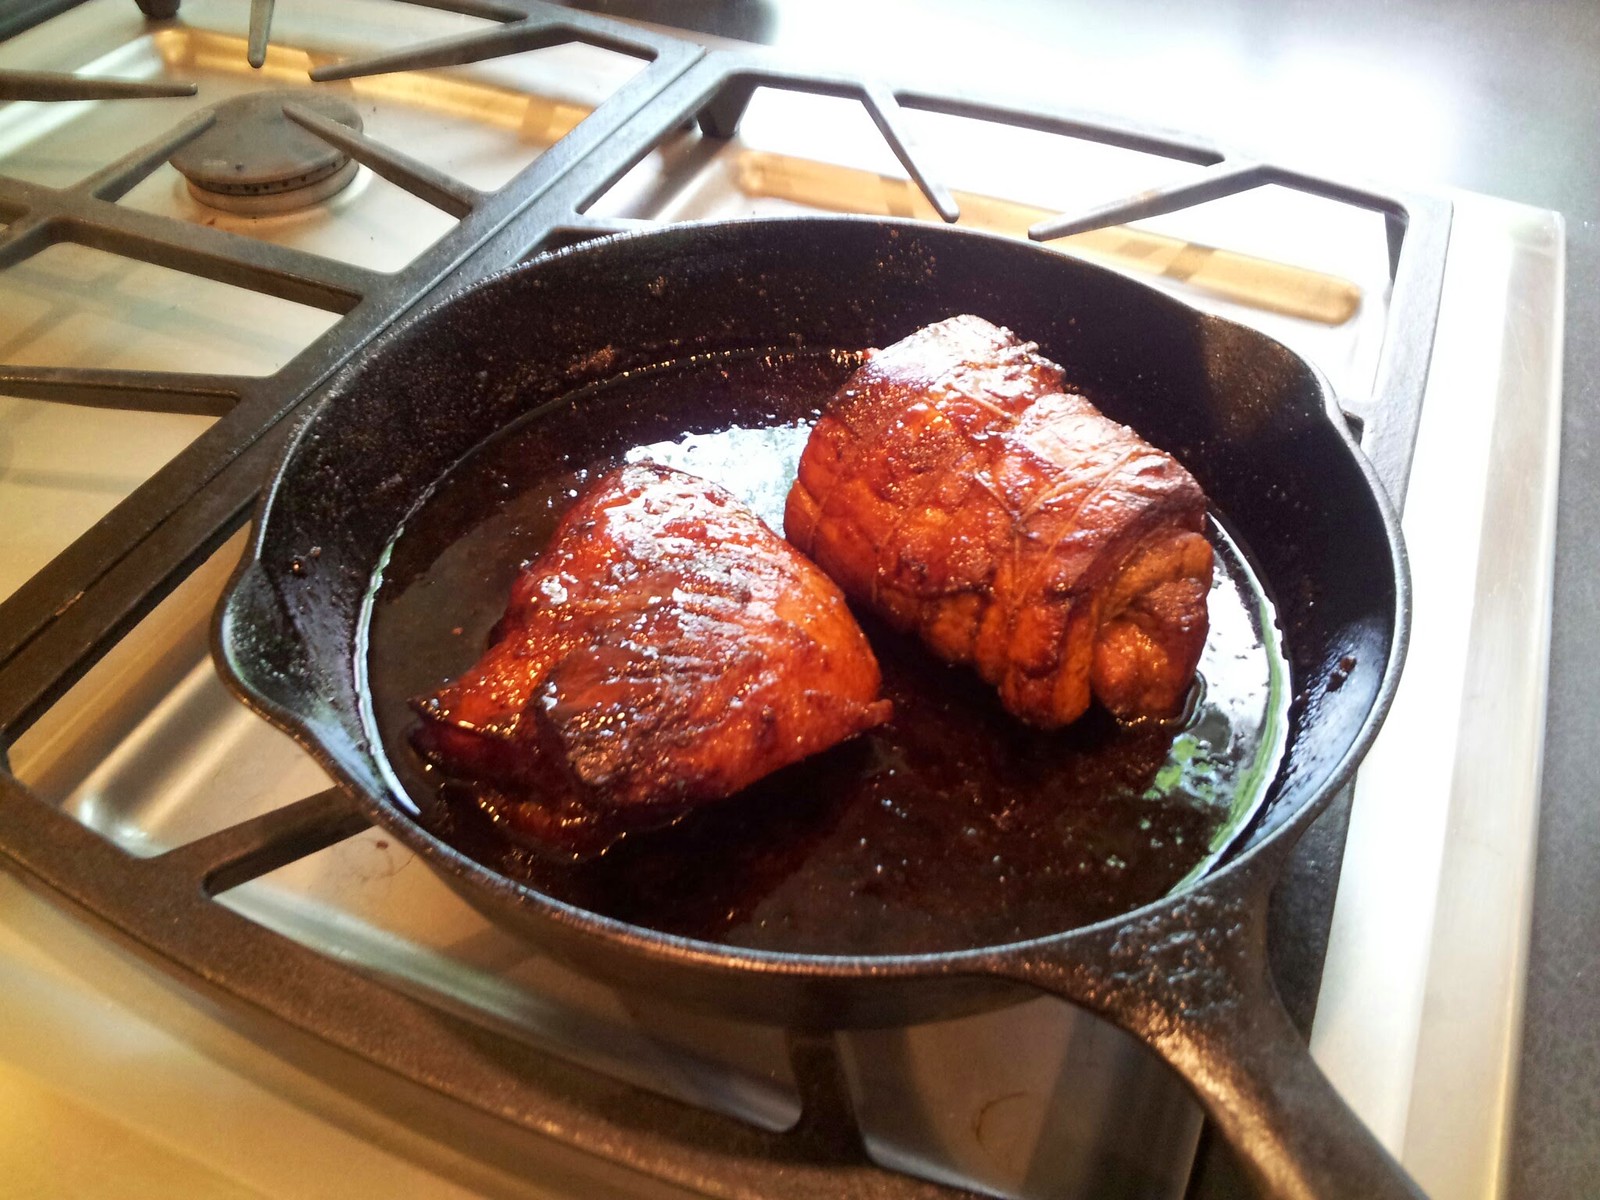
When I eventually took the pork belly out of the oven, it looked like this and smelled really really great:
Cooking (?) – Tare
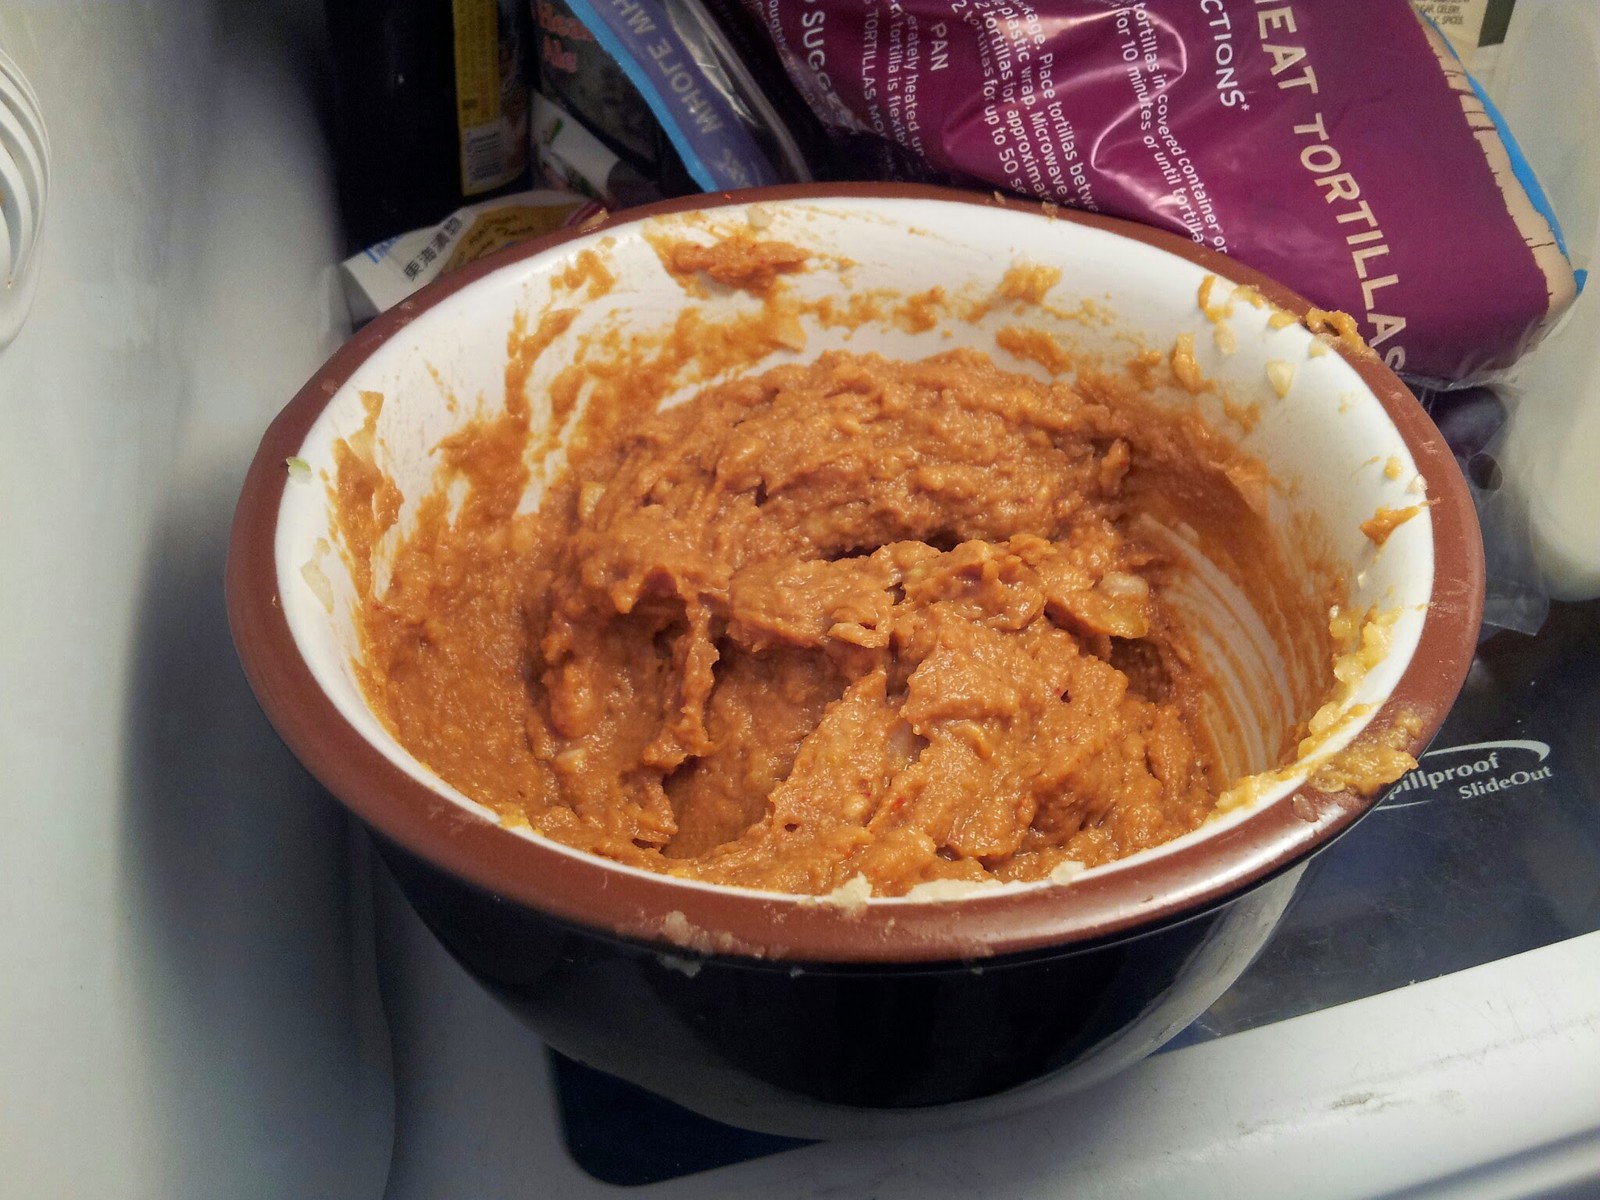
The tare is the part of this particular soup that really gives most of the seasoning. As we’ll find out in a heartbreaking turn of events in a bit, this particular broth is tonkotsu, so it’s supposed to be very porky, thick, and rich (though as ramen_lord pointed out in the quote below, this particular mix of chicken parts and pork should have resulted in a less that INSANE amount of porky/thickness), ended up being basically like slightly porky water. So though we didn’t know it at the time, this was an important part. Lindsay made this, and it was a fairly easy process. Basically just mixing together a ton of miso paste with a few other ingredients (ginger, onion, soy sauce, sesame oil.. we skipped the tahini because the stuff we had turned out to be very very very long expired. We also added Ichimi, which is a sort of spicy seasoning/powder, but we probably could/should have added more).
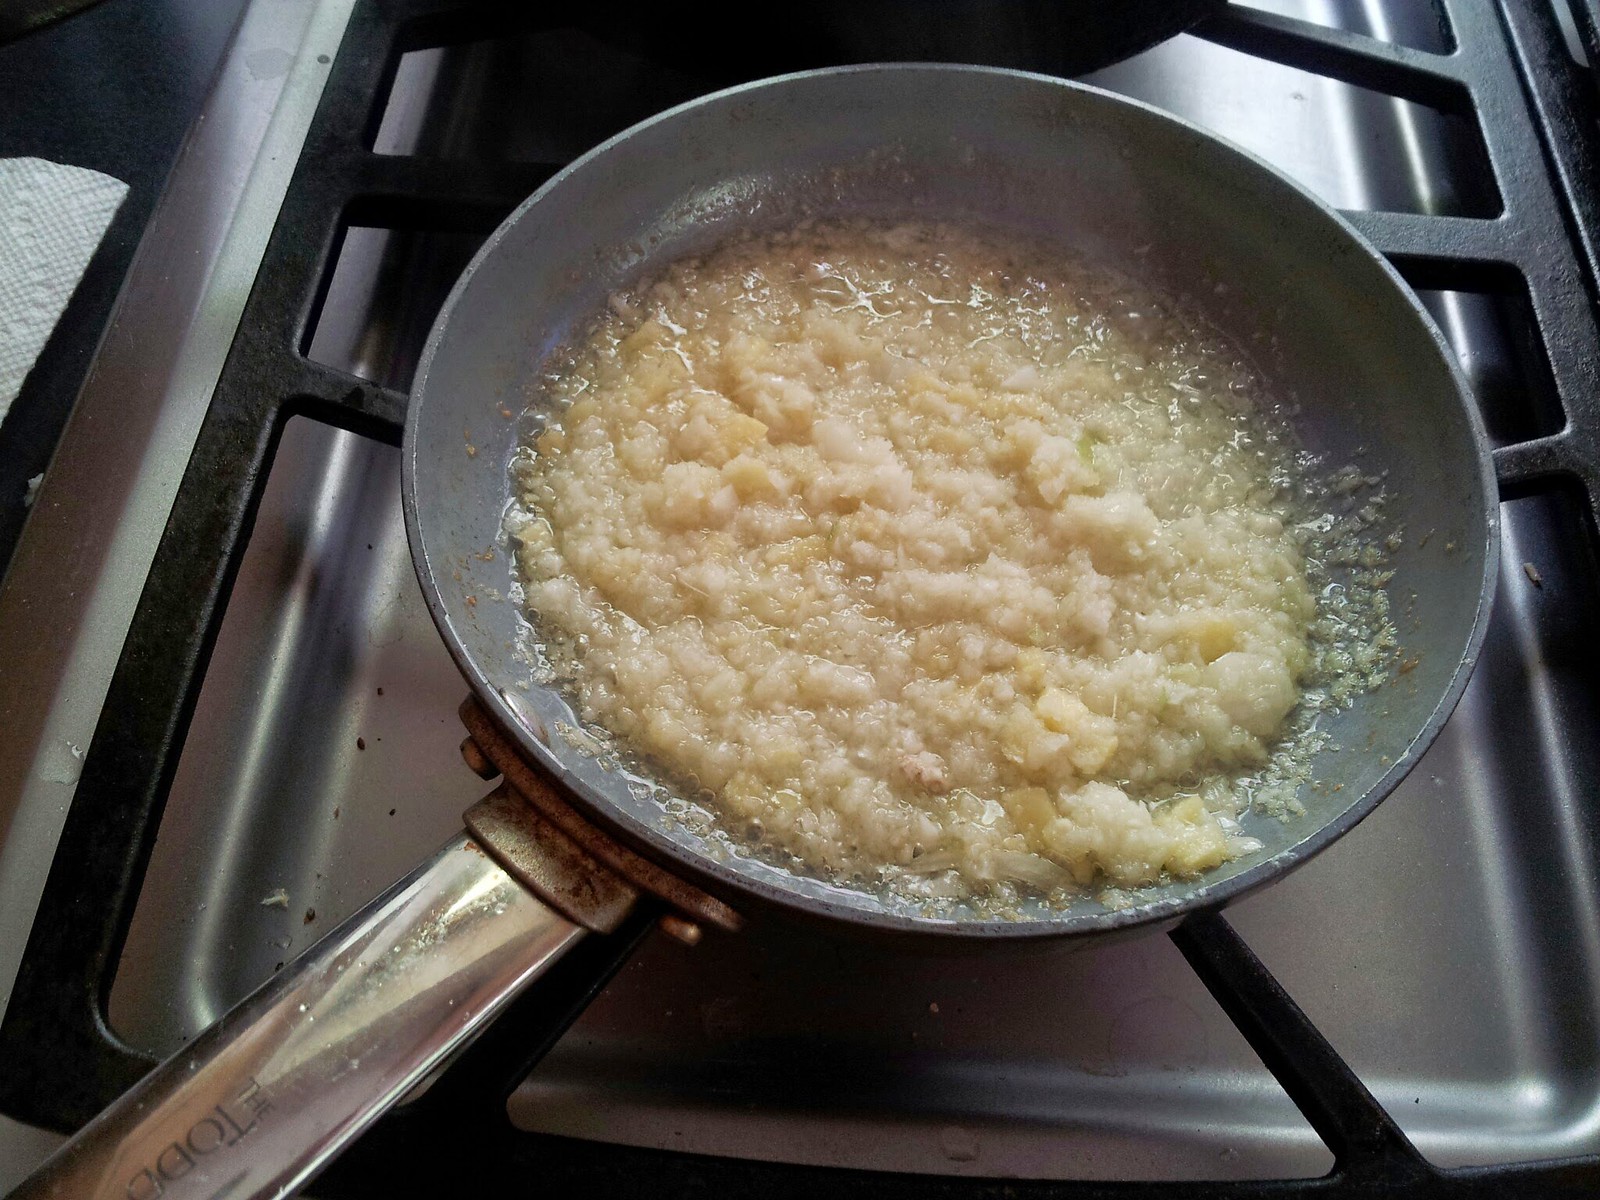
Cooking (?) – Aromatic oil
This was something of a mixed success. Lindsay made the aromatic oil, and we used a combination of sesame oil, a bit of chicken fat skimmed from the top of the broth, and vegetable oil. In my opinion the ingredients were chopped up a bit too fine in the food processor (that was a bit of a point of contention between Lindsay and myself!), but the oil ended up tasting pretty good. That said, I think using something like lard (which is what was recommended) would have been better, and I think we should have made more oil then we did. It was basically oil, garlic, and ginger.
Cooking (?) – Noodles
The noodles were pretty easy to make. I’ve been making a fair amount of hand rolled pasta lately so the physical act of kneading/rolling out/cutting the pasta I’m fairly comfortable with (though it’s still a pain to knead that much dough in my opinion).
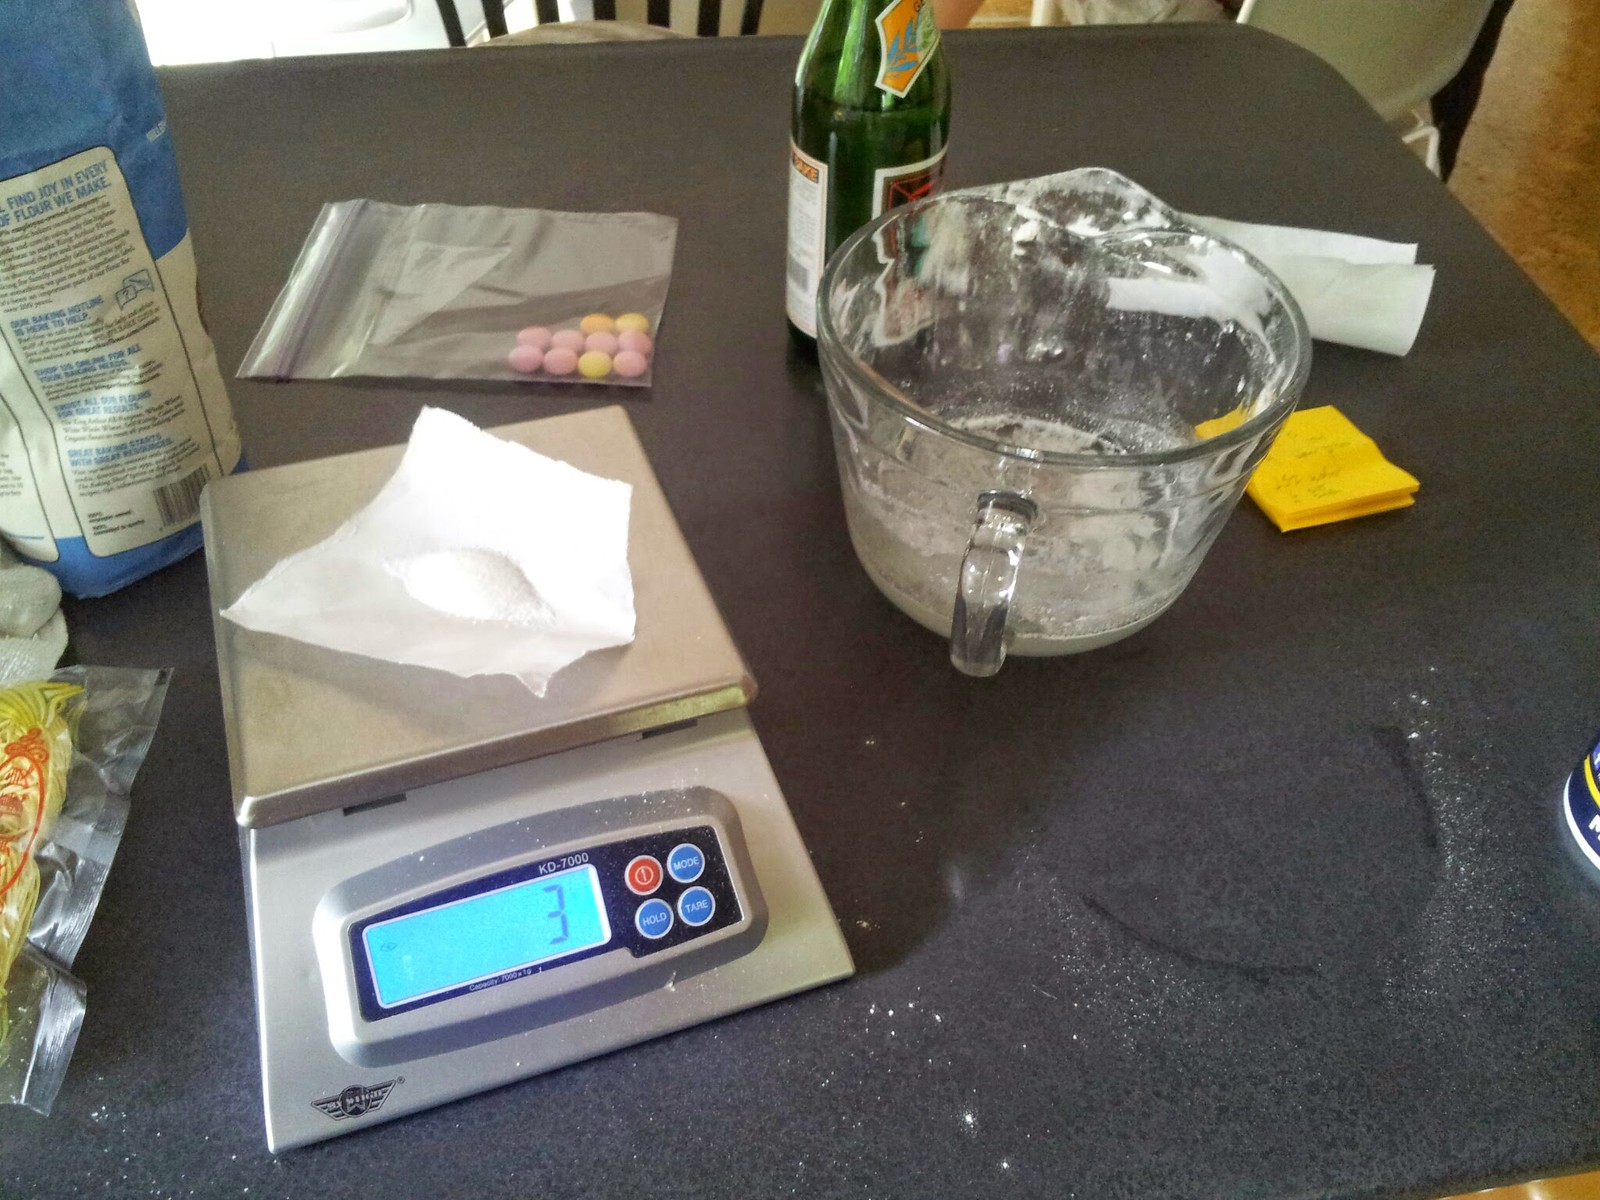
I started by baking some baking soda. I guess that increases the alkalinity and makes it more suitable for ramen noodles.
I doubled the recipe (as with everything else), and measured everything out on the kitchen scale.
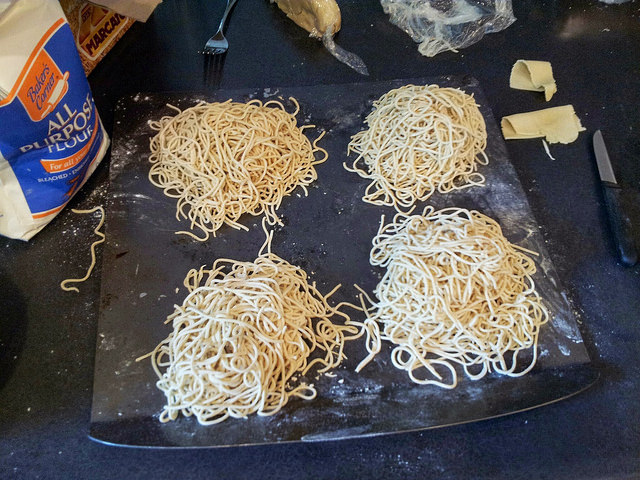
Unfortunately I don’t have many photos of the rest of the noodle making process as at this point I was getting “down to the wire” and didn’t think to/care to take photos. But here is one tray of the noodles portioned out (although I would say I was a bit too generous on the portion size) and ready to cook. I made about 4 times this many noodles in total.
(fyi the all purpose flour there was just used in very very small amounts to dust the noodles to keep them from sticking)

Putting it all together – or that time I almost started crying because the broth wasn’t very porky/thick
One of the stupidest things I’ve done in recent memory is not really truly taste the tonkotsu broth until it was pretty close to time to serve it. As I mentioned, I had to stay up until 2:30AM the night before to allow the soup to cook, and at the time, I was pretty tired and just wanted to go to bed. The broth LOOKED beautiful – I wish I had a photo of it, but it looked opaque, white, beautiful. And it smelled beautiful as well. Just like I wanted. I went to bed that night feeling really really good about the broth and myself. Without having tasted it! WHAT AN IDIOT! Part of this was I think a subconscious thing. I knew that the broth hadn’t cooked long enough, or at least not as long as I had wanted, but I didn’t want to let it boil all night (which is what in retrospect I should have done almost without question).
The broth should have been thick and rich. Instead, it was porky but still watery. It didn’t taste bad, it just didn’t taste or feel like much. Honestly, tonkotsu that I’ve had in Japan was sometimes almost borderline gross it was so thick and creamy and rich. I went with the recipe I did because in theory it was supposed to be a good happy/medium tonkotsu. I think the recipe was probably great (thanks again ramen_lord for taking the time to provide such great directions!), but I think either 1. the bones I had weren’t quite right or 2. I just didn’t boil them long enough.
Anyway, when it came time to serve the ramen to my family, Lindsay came to the rescue and we ended up mixing some of the very flavorful and delicious chashu braising/cooking liquid in with the broth, and we ended up adding some of the tare in directly to the broth as well to get a better flavor. I think in the end the broth was actually pretty good, but it was much more of a miso ramen then a tonkotsu, which after all of the work I did was frankly a bit heartbreaking. First world problems. At least I’m not dying of Ebola I guess.
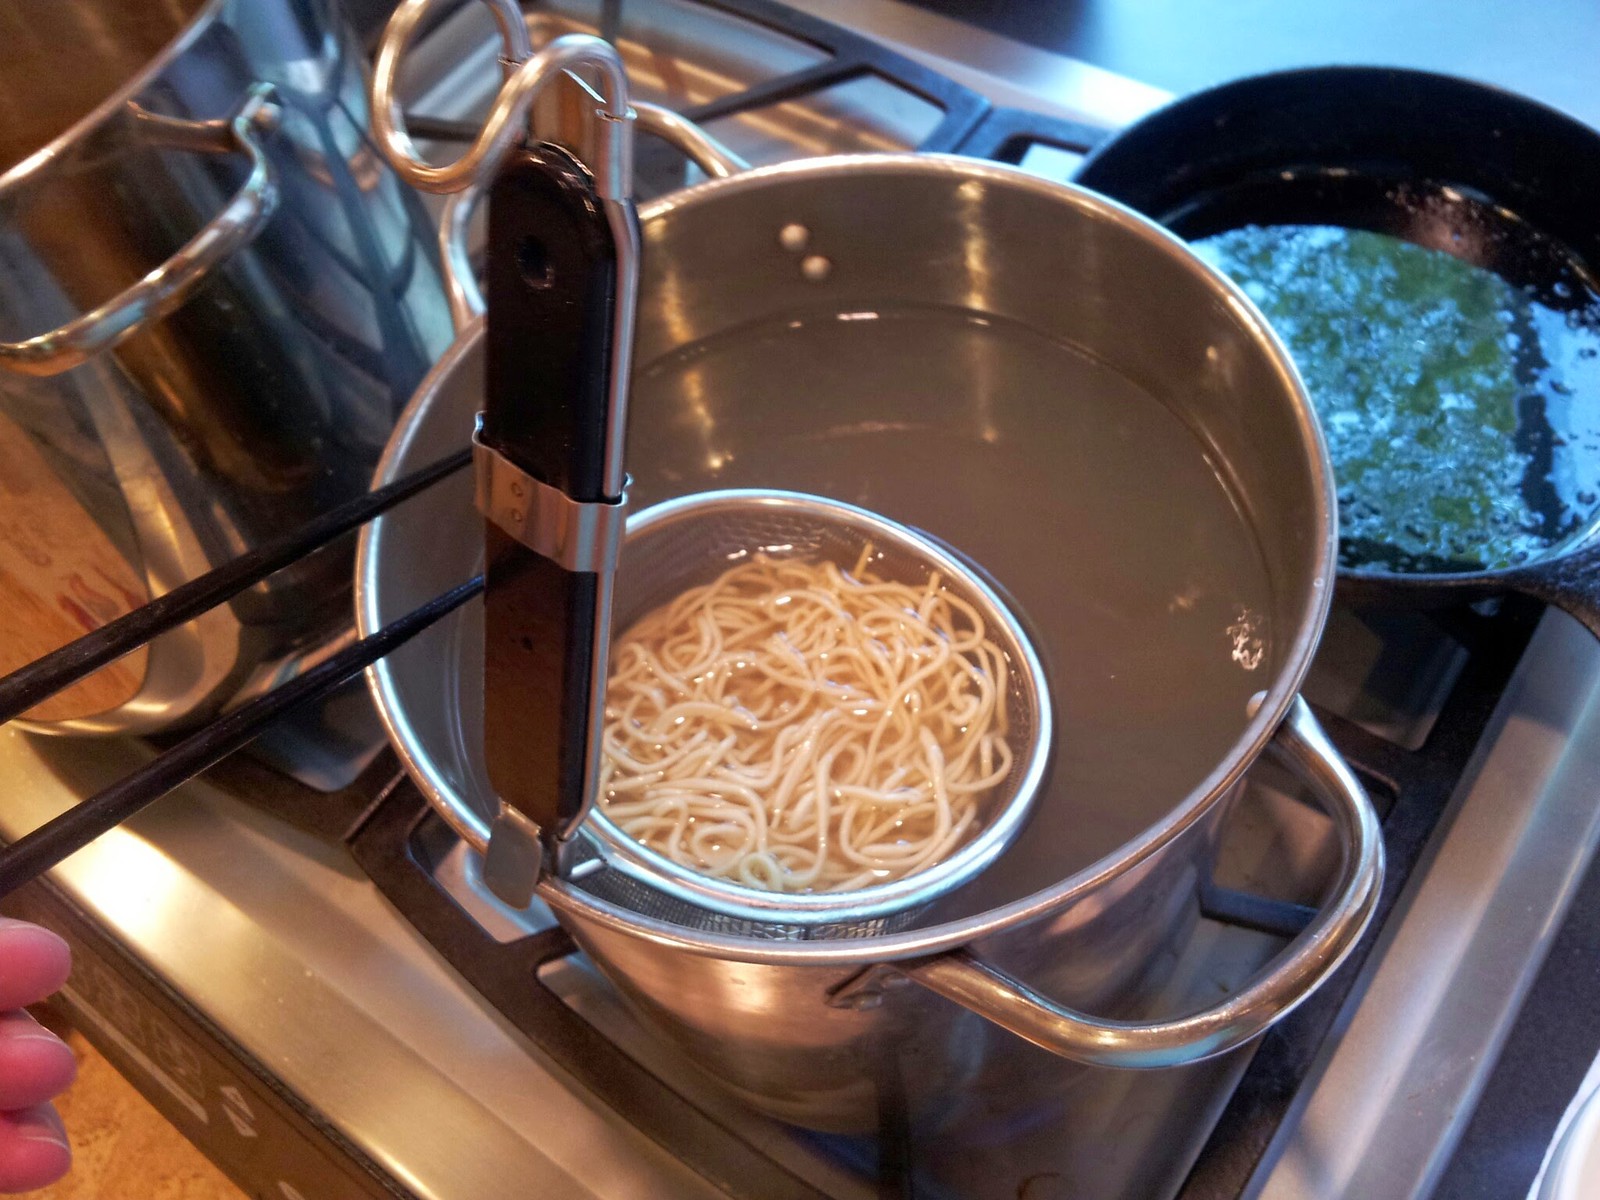
We cooked the noodles for each order one by one. Note in the photo that the water isn’t boiling, which I think is funny if you’ve ever seen the movie Tampopo (which I HIGHLY recommend if you are into ramen at all, or Japanese stuff) because one of the first things that the main characters notice/critique when they go into this ramen restaraunt is that the water being used to cook the noodles isn’t boiling. They say this is a bad sign. Anyway, I feel compelled to say that I realize this and that in fact the water WAS boiling most of the time, but when I took this photo I believe I was on the last (my) serving, and there wasn’t enough volume/mass of water to maintain a boil for all 9 or 10 servings I cooked in rapid succession. Anyway, I’m not sure it was a big deal this time around.
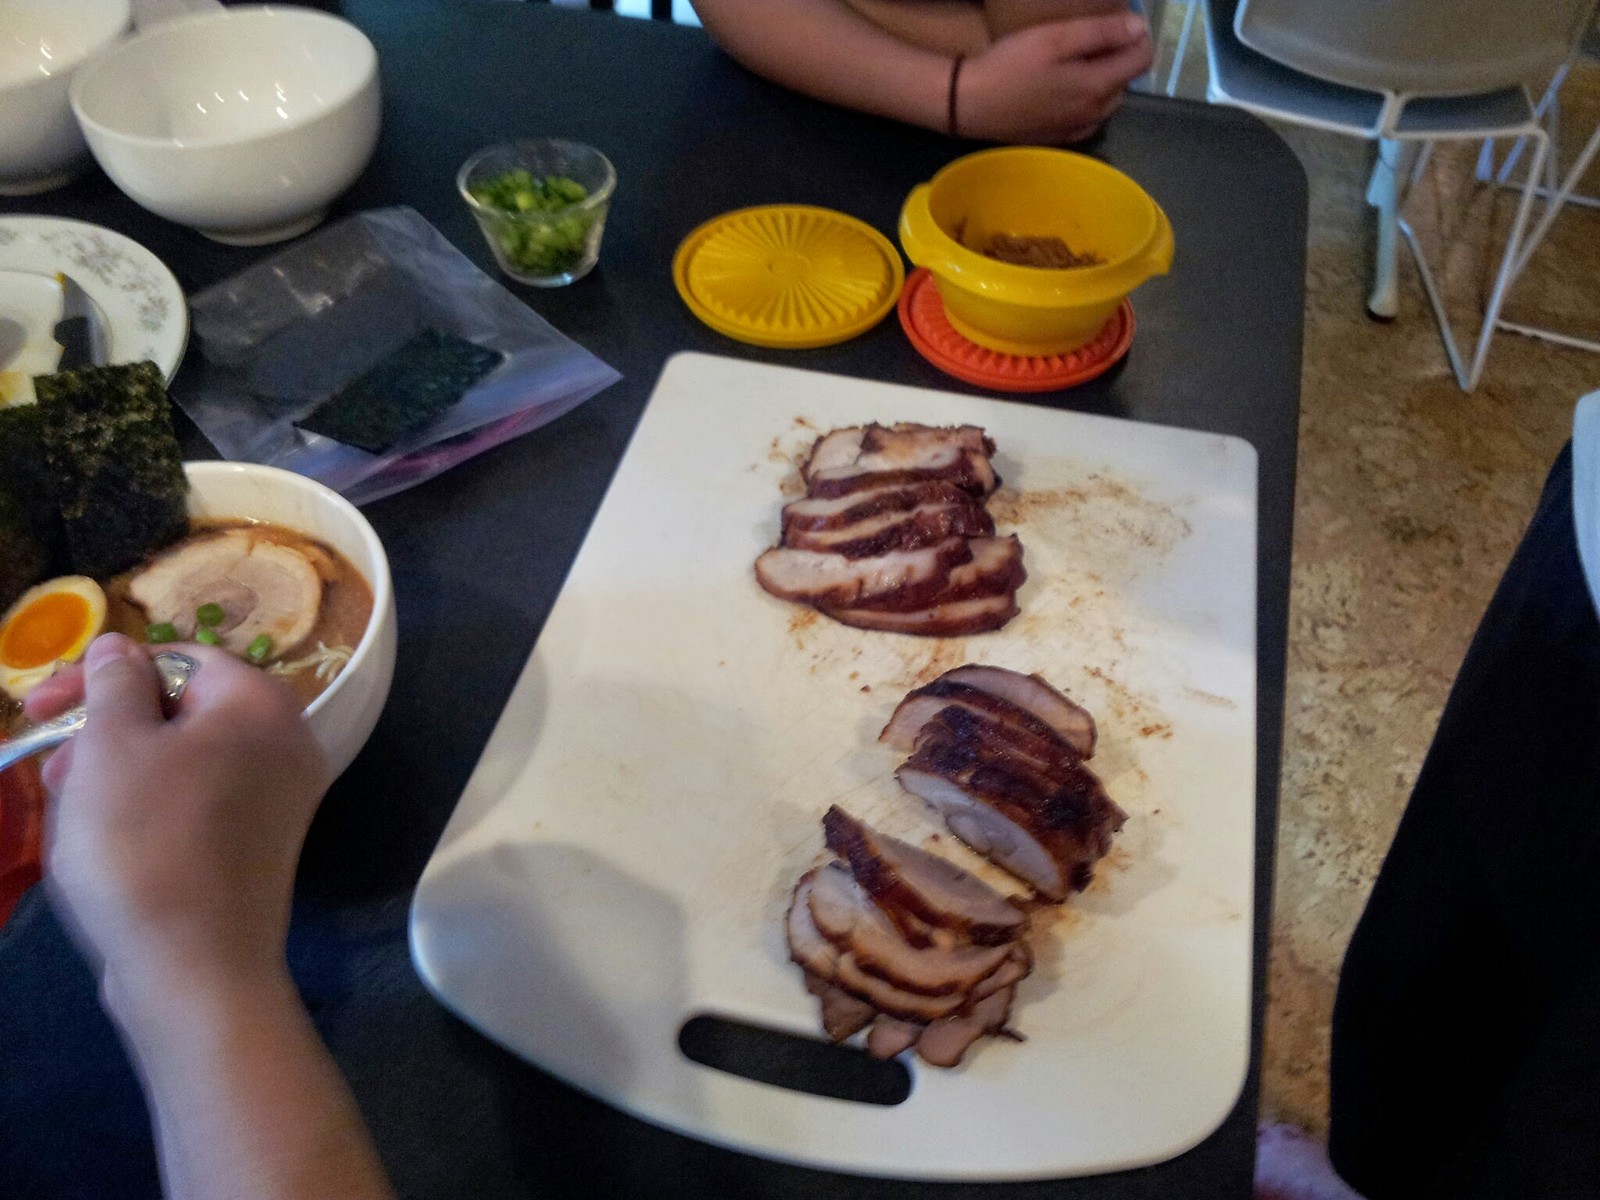
The chashu cooked, looked/was about perfect. Again, I think it could have cooked a bit longer as it wasn’t QUITE 100% melt in your mouth good, and I’m also not sure that I wouldn’t have preferred a bit more fat. Still, for a first time and for amateur ramen, I felt it was pretty good tasting (and looking!)
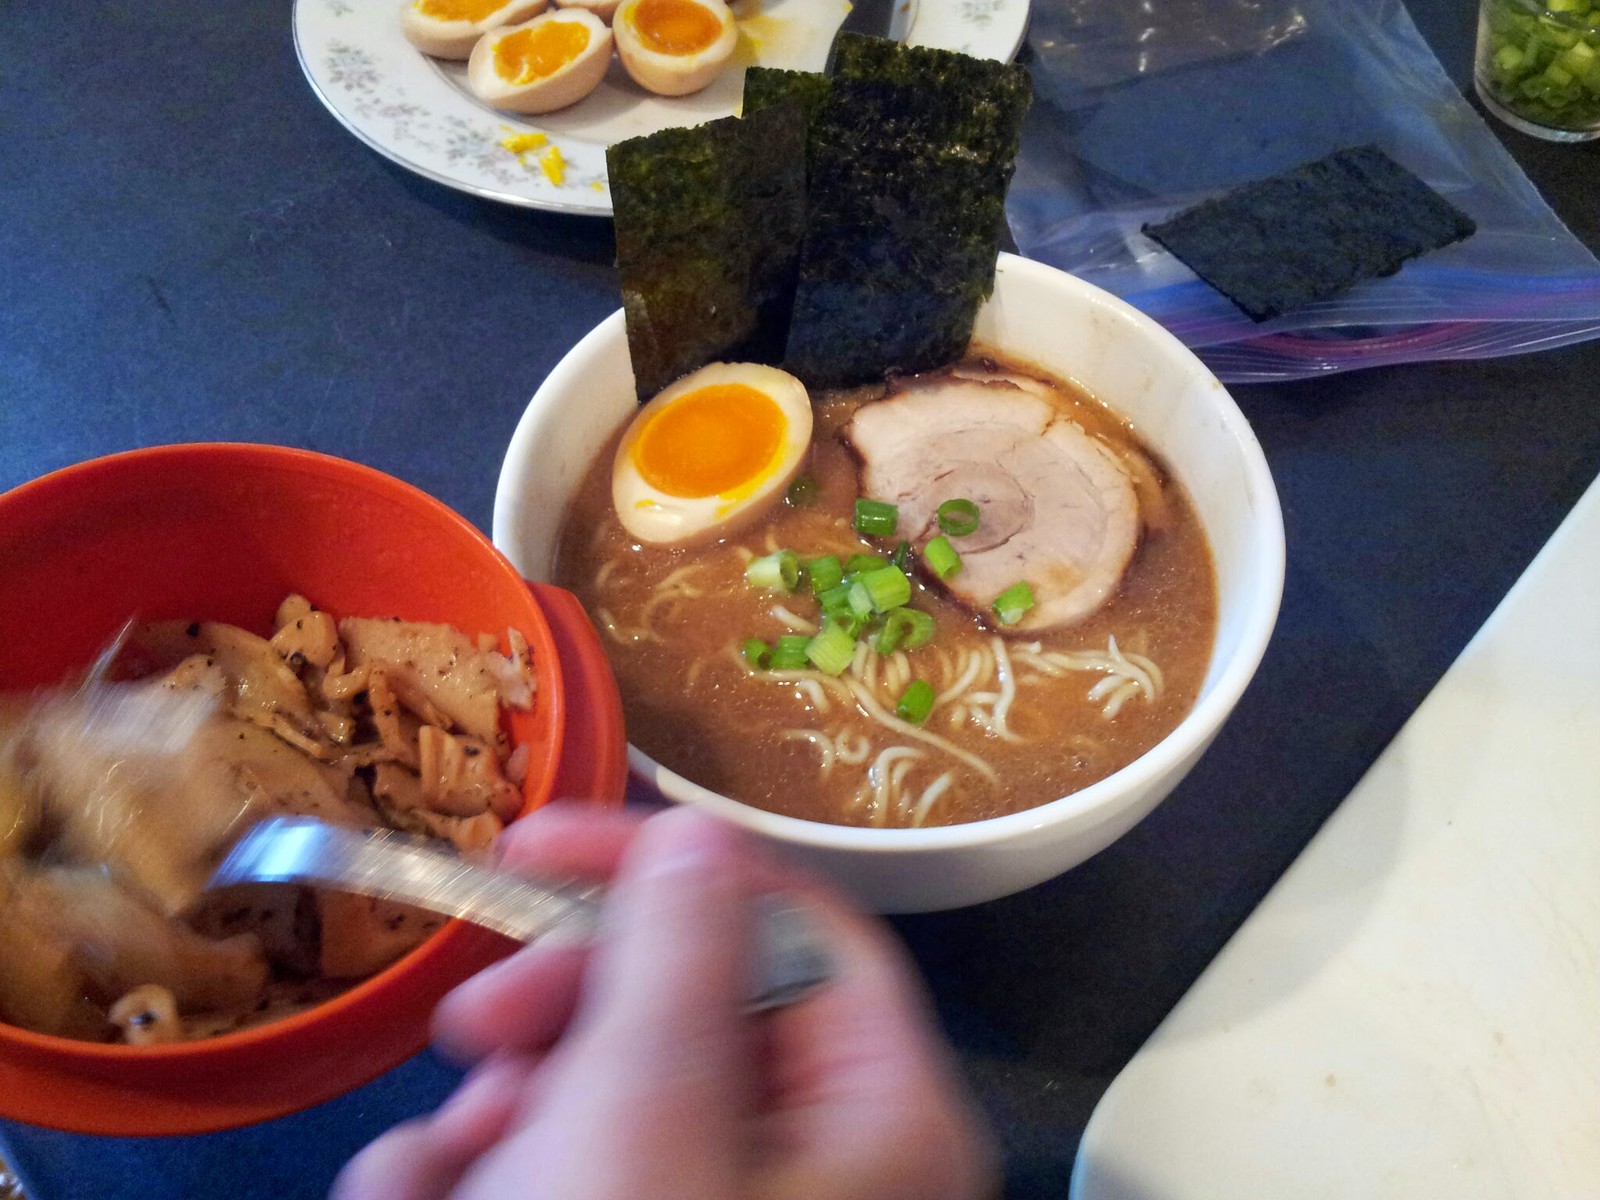
And finally, the finished product, which I guess you’ve already seen in the main/top image!
Overall, I was not happy how the ramen turned out, given the amount of effort I/we put into it. I think that we could have made everything from start to finish, if we had started with canned chicken stock and made some sort of miso ramen. I’m not saying it would have been good, or right, but not THAT much worse then what we did. The majority of the work was in the prepping/cooking of the bones, and a lot of the expense, and it just didn’t turn out like I wanted.
I think the ramen was pretty good though (even if not right!), and I’m at least happy for that. And I think it was a fairly authentic experience, in terms of taste, ingredients, preparation. Of course it’s not the same as eating ramen in a great hole-in-the-wall-but-line-down-the-block ramen place in Tokyo, but I don’t think you could go out to get ramen at a restaurant in my mid-sized city and get ramen that was much more real then this. So I’m proud of that at least, because a huge part of our motivation was to make something to share our love of Japan/ramen with our families.
A response from Ramen_Lord
As I mentioned, this guy is really really great, and super supportive and helpful, and he read my blog post already and responded with some feedback. Here is what he said below:
First of all, thank you for the feedback, and thank you for going on this ramen journey. Fantastic post by the way, very fun to ready I’m always very flattered when people use my recipes. And so much detail!
I’m sorry that the dish didn’t turn out quite as good as you hoped, perhaps I can try to remedy the situation. If I can say, ramen is hard. It’s incredibly hard. It’s the hardest dish a home cook can try to make. Restaurants in America are constantly failing at it. So please don’t be discouraged! There will be abject failure on the path (I have made so many horrible bowls of ramen, it’s unreal), but eventually things click and the resulting dish is wonderful.
Now… Onto the questions.
Regarding broth thickness: the miso Tonkotsu method is intentionally lighter via chicken, because the tahini and miso in the tare boost a lot of the body. That said, the amount of water you use in the boil will inevitably affect the resulting dish. If you feel the stock is too watery, especially after 12 hours of cooking, it’s best to try and boil down the stock somewhat. Evaporating moisture will inevitably help the body of the stock.
I’d say it’s NOT an ingredient issue… Your bones look right. It’s most likely a water content issue. Hardcore Tonkotsu shops barely cover the bones, meaning the concentration of fat and gelatin in the cooking water is extremely high. But with miso and tahini, it was just too much to me personally.
You can also do a few fail safe checks to confirm that the bones are fully cooked. Is the marrow mostly gone? Is the meat fully separated from the bones? This should be the case. The pot should be filled with what appear to be clean, meat free, spent bones, and a mush of overcooked, spent meat. (Be sure to stir towards the end, as this mush can burn on the bottom of the pot).
Finally, if you’re craving that incredible richness, add a trotter or two. That always helps add gelatin, which will help emulsify things and improve the body.
Also, I saw you wrote this, but you can ABSOLUTELY start the Tonkotsu overnight, at the lowest setting on your stovetop. The water, presumably reaching 170 degrees or so, will eventually pasteurize the liquid over time, so it will be entirely safe for consumption despite the low temp. Measure the temp to be sure of course. I believe you can also do this in a crock pot if you have concerns about control. Then in the morning you can ramp things back up to high boil.
Regarding the noodles: I’m actually quite surprised by this! I’ve found that at 1.5 grams the noodles definitely have that characteristic alkalinity. Another fail safe is to use filtered water instead of tap water, seems to help the flavor somewhat.
And finally… The chashu. I give a general guideline for timing but everyone has a different cut in terms of size and shape, and ultimately it comes down to texture, not time. Feel the pork belly after around 3 hours, it should be soft and very pillowy. Very little spring (though some is good). Sometimes belly is done in 2 hours, sometimes it’s done in 4. Trust your gut, cook longer if needed.
Feel free to reach out of you have other questions!